


WhatsApp Image Size: The Complete 2026 Guide (DP, Status, HD, Stickers & Business)
October 28, 2026
Equine Photography: The Full Guide for Horse Photographers (Settings, Posing, Editing & Pricing)
October 31, 2026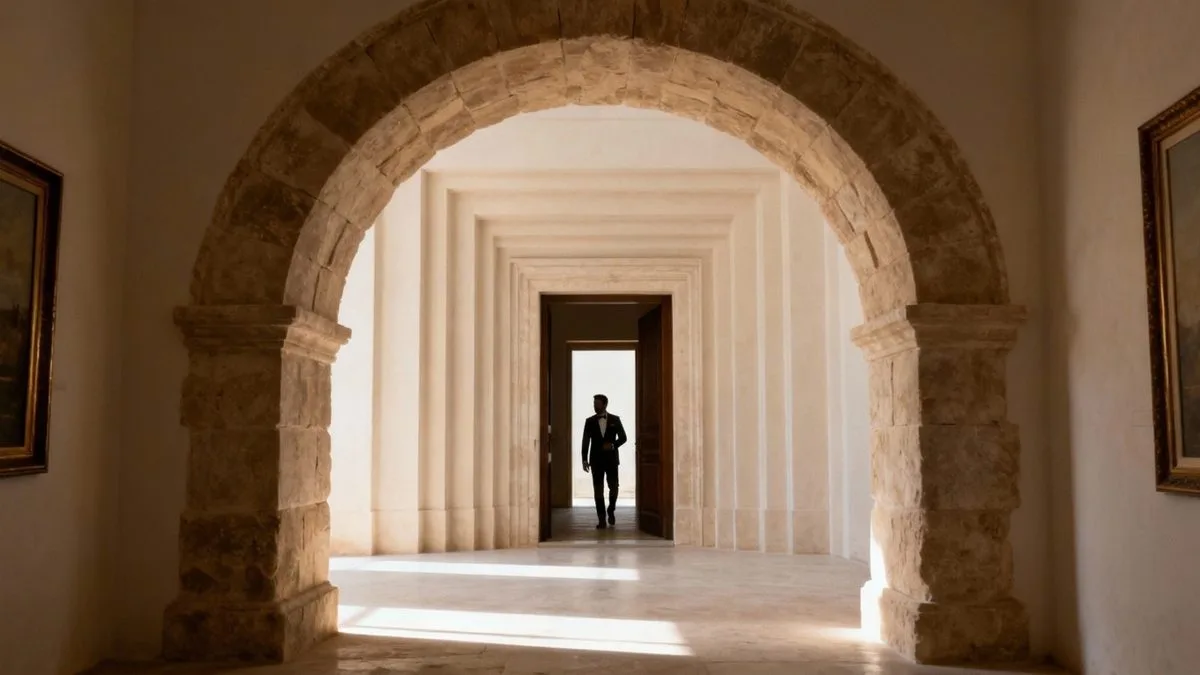
Framing in photography means using elements within the scene — or the edges of your shot itself — to draw the viewer’s eye straight to your subject. It comes in two flavors. The broad meaning is simply how you decide what goes inside your four edges and what you leave out. The more specific, technique-y meaning is the frame within a frame: shooting through a doorway, a window, an arch, or even someone’s hands so the subject sits inside a second “frame” inside your photo. Either way, the goal is the same: focus attention, add depth, and give the image a story.
Done well, framing turns a flat snapshot into something you want to step into. Done badly — a branch sticking out of someone’s head, a crooked horizon, too much clutter — it distracts and destroys. This guide walks you through exactly what it is, the eight types every photographer should know, the famous examples you can learn from, and the five mistakes that trip up almost everyone.
- So What Is Framing, Exactly?
- Why Framing Matters More Than You Think
- The 8 Types of Framing Every Photographer Should Know
- What the Masters Can Teach You
- How to Frame Like a Pro: A Step-by-Step Field Guide
- Framing by Genre: What Works Where
- The 5 Framing Mistakes That Make Photos Look Amateur
- Fixing Framing in Post-Production
- Advanced Tips for When You're Ready to Push Further
- Frequently Asked Questions
- One Last Thought
So What Is Framing, Exactly?
Let’s get the definition out of the way, because the word gets used in two slightly different ways and that confuses beginners.
The broad definition: Framing is the act of composing your image — choosing what to include inside the rectangle of your photo and what to cut out. Where you stand, how you zoom, where you point the camera — all of that is framing. In this sense, every photo is framed; the question is whether you did it on purpose or by accident.
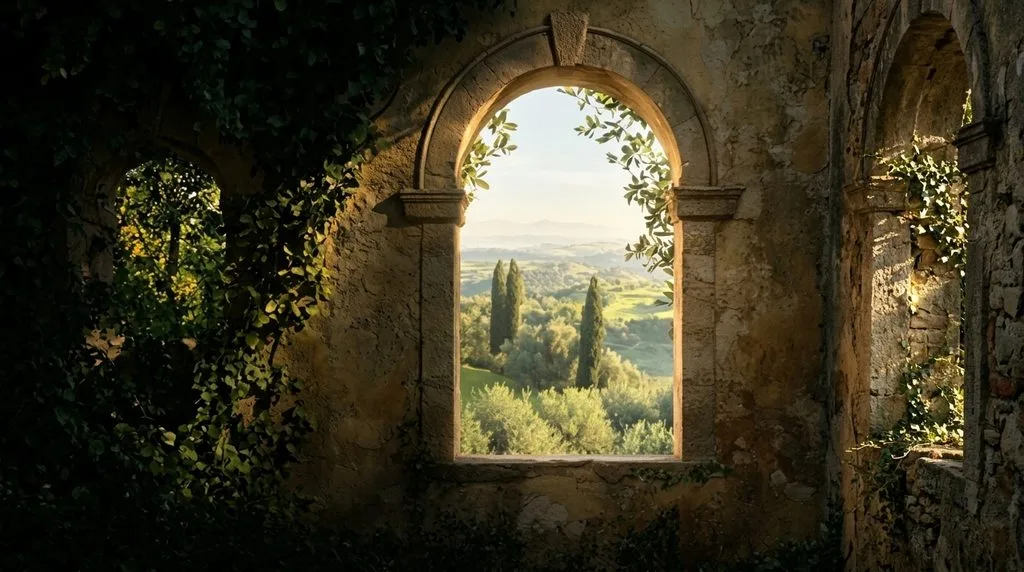
The specific technique definition: Framing (often called “frame within a frame”) is when you use an object in the scene to create a second border around your subject. Think of a person standing in a doorway, a mountain seen through a cave opening, or a face glimpsed through a rainy car window. The outer edge of the photo is one frame. The doorway or window is a second frame inside it. That inner frame acts like a spotlight — your eye can’t help but go straight to whatever sits inside it.
Most of the time, when photographers talk about “using framing,” they mean that second one. But the broader skill of consciously choosing your edges is just as important. A solid composition in photography guide will treat framing as one of the core tools, right up there with the rule of thirds and leading lines.
Why Framing Matters More Than You Think
A good frame does four jobs at once, and most people only notice one of them.
It directs attention. The human brain is wired to look inside enclosed shapes. Put a subject inside a doorway, and the viewer’s eye lands there instantly — no caption needed.
It adds depth. A frame in the foreground creates layers. Suddenly the photo has a front, a middle, and a back, and it stops feeling flat. That sense of three-dimensionality is what separates a “nice” photo from one you stare at.
It gives context. The frame tells you where you are. A neon-lit window says Tokyo. A stone arch says old European village. A chain-link fence says urban. The subject gets a setting for free.
It tells a story. Framing can create mystery, intimacy, or even voyeurism. Shooting through a half-open door feels like you’re peeking in on a private moment. That’s a feeling, not just a composition trick.
The 8 Types of Framing Every Photographer Should Know
Frames are everywhere once you start looking for them. Here are the eight main types, roughly from easiest to most advanced.
| Type | What It Is | Classic Examples | Best For |
|---|---|---|---|
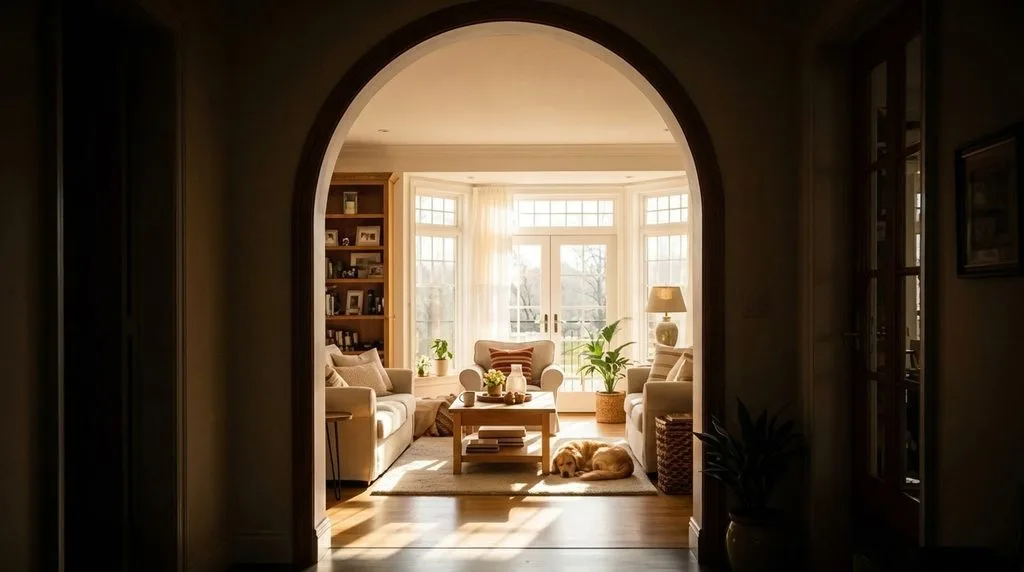
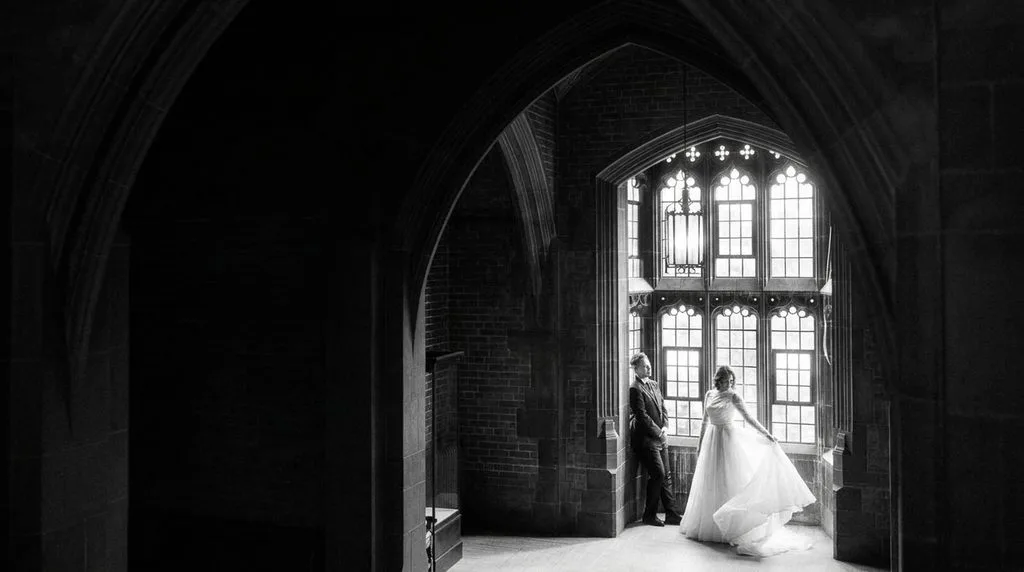
| Architectural frames | Doorways, windows, arches, bridges | Gothic cathedral arch, apartment window | Portraits, street, travel |
| Natural frames | Trees, foliage, caves, rock formations | Tree tunnel, cave mouth | Landscapes, environmental portraits |
| Light & shadow frames | A pool of light surrounded by shadow | Spotlight through a window, dappled shade | Moody portraits, street |
| Leading-line frames | Roads, paths, fences converging on subject | Railroad tracks, hallway | Architecture, landscape |
| Reflection frames | Subject framed in mirror or water | Mirror selfie, puddle reflection | Creative portraits, street |
| Human frames | Hands, arms, or other people surrounding subject | Hands forming a rectangle, crowd gap | Events, weddings, editorial |
| Negative space frames | Subject surrounded by empty space | Lone figure in vast sky | Minimalist, fine art |
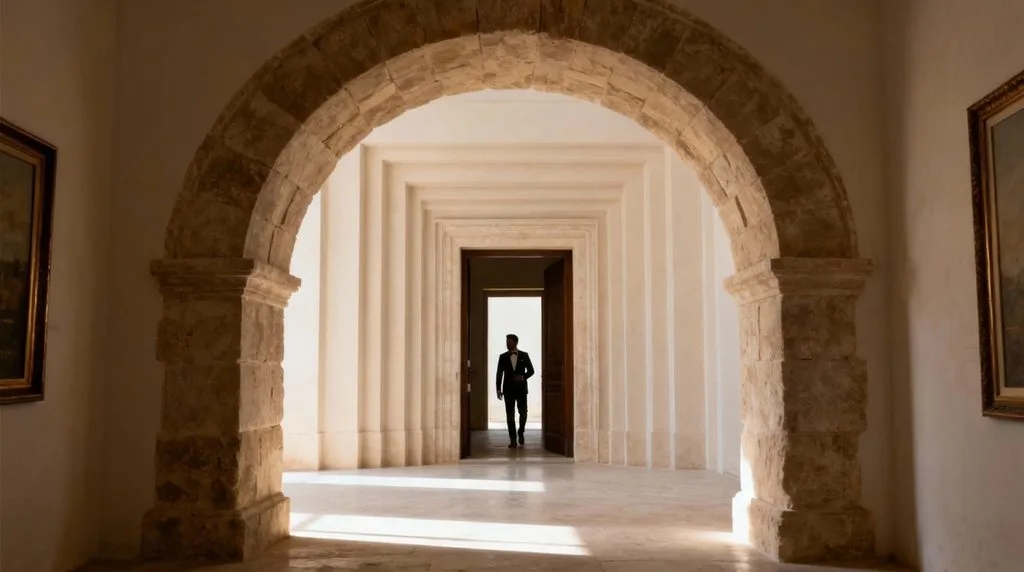
| Frame within frame | Multiple nested frames (door→window→mirror) | Corridor of doorways | Architectural, fine art |
Let’s look at the ones worth spending real time on.
Architectural Frames — The Easiest Win
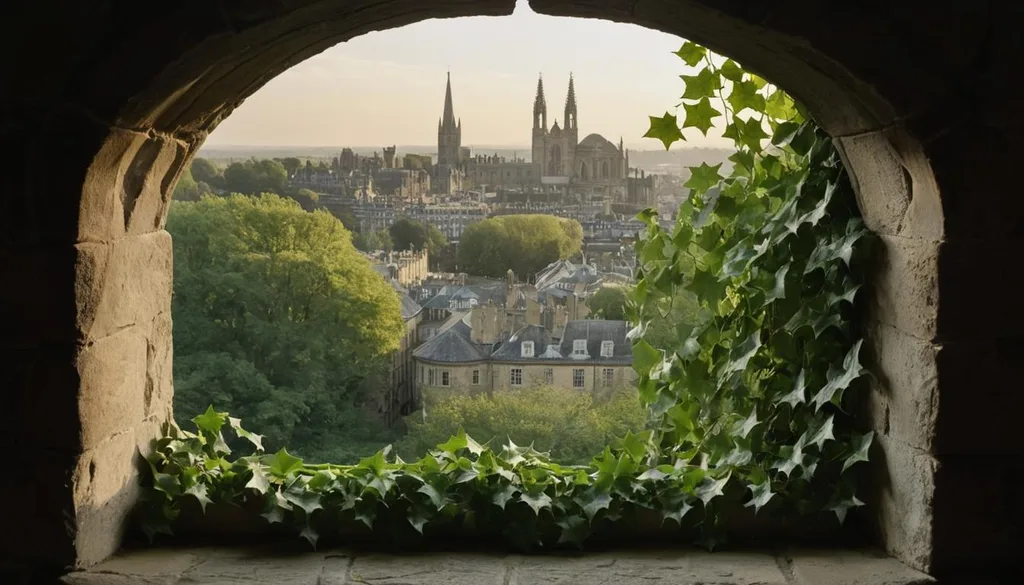
Doorways, windows, arches, stairwells — buildings are full of ready-made frames, and they’re the single fastest way to level up your photography. The trick is to position yourself so the frame surrounds the subject without cutting through it awkwardly. A common mistake: standing too close so the top of the arch chops off the subject’s head. Step back, let the whole frame sit inside your shot, and place the subject dead center within it. Symmetry works beautifully here.
Natural Frames — Let the Environment Do the Work
Overhanging branches, a gap in a hedge, a cave mouth, or a rock arch can frame a landscape or a person in a way that feels organic rather than staged. The classic move in landscape photography is to put something interesting in the foreground — twisted tree roots, a boulder, wildflowers — that frames the distant view. That foreground element instantly adds scale and depth. Just make sure the foreground frame isn’t so sharp and detailed that it competes with your main subject. A slightly out-of-focus foreground frame is often more effective than a crisp one.
Light and Shadow — The Invisible Frame
This is the one most beginners miss. You don’t need a physical object to frame a subject — a patch of light surrounded by shadow does the same job. Think of a person standing in a shaft of light from a window, everything else falling into darkness. The light is the frame. It’s dramatic, it’s cinematic, and it works every single time. Look for it on bright sunny days walking down alleys, or indoors near big windows.
Frame Within a Frame — The Showstopper
This is the technique that makes people stop scrolling. You stack frames: a doorway, and through it a window, and through that your subject. Or a mirror reflecting a window reflecting a person. Each nested frame adds another layer of depth, and the eye gets pulled deeper and deeper into the photo. It takes a bit more hunting to find, but when it works, it’s unbeatable.
What the Masters Can Teach You
You don’t have to invent this stuff from scratch. Some of the most famous photographs ever taken are masterclasses in framing, and they’re all free to study.
Ansel Adams — Wawona Tunnel View. Adams shot Yosemite Valley from inside a tunnel, so the dark rock of the tunnel mouth frames the sunlit valley and El Capitan. It’s one of the most recognizable landscape photos ever made, and the framing is the whole reason it works — you feel like you’re standing in that tunnel, looking out.
Henri Cartier-Bresson — Hyères, 1932. Cartier-Bresson shot a bicyclist from high above, framed by spiraling staircases and curving walls. The geometry of the architecture wraps around the tiny moving figure, creating a perfect balance of stillness and motion. It’s the photo that defined “the decisive moment.”
Lee Friedlander. Friedlander spent decades shooting through car windows, storefront glass, and reflections, using every available surface as a frame. His work proves you don’t need a pretty arch — a grimy city window will do, if you see it.
Shunk-Kender — Hands Framing New York Harbor. Two photographers literally used their own hands, held up in a rectangle shape, to frame a ship in the harbor. It’s playful, it’s clever, and it reminds you that the simplest frame of all is the one you make with your body.
The lesson from all of them: the best frames are hiding in plain sight. The masters didn’t travel to exotic locations to find them — they noticed what was already there.
How to Frame Like a Pro: A Step-by-Step Field Guide
Knowing the theory is one thing. Doing it in the field, in two seconds before the light changes, is another. Here’s the process that actually works.
- Find your subject first. Don’t go hunting for frames. Find the thing worth photographing — a person, a moment, a view — then look around it.
- Scan 360 degrees. Turn in a slow circle. Look for anything that could surround your subject: a doorway behind you, branches overhead, a railing at waist height, a puddle at your feet. Frames are usually not in the direction you’re already pointing.
- Move your feet. Once you spot a potential frame, walk toward it, away from it, left, right, up on a step, down on a knee. The frame only works from one exact position; find it by moving, not by zooming.
- Check the edges. Run your eye around all four borders of the frame. Is anything sticking out of the subject’s head? Is a bright corner pulling the eye away? Is the horizon straight?
- Simplify. If the frame and the subject are competing, remove something. Usually that means moving closer to the frame so it goes out of focus, or changing your angle so the frame gets simpler.
- Take two versions. One with the frame, one without. Compare them later. You’ll start to learn when framing actually helps and when it’s just a gimmick.
Framing by Genre: What Works Where
A frame that stuns in a landscape shot will ruin a product photo. Here’s how the pros approach it by shooting style.
- Portraits: Doorways and windows are your best friends. They add context and flatter the subject by surrounding them. Just keep the frame’s edges away from the face — you don’t want a window line crossing the eyes.
- Weddings and events: Shoot through doorways, other guests, floral arrangements, and even glass. A wedding day is chaotic; framing is how you clean up the frame without losing the energy of the day. A solid wedding editing workflow will include culling shots where the framing didn’t quite land.
- Street photography: Reflections, shop windows, bus shelters, and rain. Street frames are gritty and imperfect, and that’s exactly why they work. Don’t wait for a clean arch — a graffiti-covered doorway will tell a better story.
- Landscapes: Foreground elements — rocks, trees, wildflowers, a fence line — frame the distant view and add scale. Without a foreground frame, landscape photos often look flat and postcard-y.
- Architecture: Use repeating doorways, corridors, and staircases to create nested frames. The geometry of buildings is made for this. Symmetry pays off big here.
- Product and ecommerce: Keep framing subtle. A hand at the edge of the frame, a draped fabric, or a shape of light can guide the eye to the product — but the product itself must stay clean and legible. Over-framing a product shot will hurt sales.
The 5 Framing Mistakes That Make Photos Look Amateur
Every beginner makes these. Learn them now and skip the embarrassment.
- The “branch through the head” shot. A tree branch, a lamppost, or a window frame line up exactly behind the subject’s head. It looks like they’re growing antlers. Fix: move a step to the left or right. That’s it.
- Cropping at the joints. Cutting off a subject at the ankles, wrists, or neck feels uncomfortable to look at, and nobody can say why. If you’re going to crop, crop between joints — mid-calf, mid-thigh, mid-forearm — or not at all.
- Too much frame, not enough subject. You got so excited about the cool archway that the person inside it is a tiny speck. The frame should support the subject, not replace it. If the frame is more interesting than what’s inside it, you’re photographing the wrong thing.
- Tilted horizons and crooked frames. A slightly tilted doorway or horizon is the single fastest way to make a photo look like an accident. Straighten it in camera or in post — two seconds, massive difference.
- Cluttered edges. A bright plastic bag in the corner, a random stranger’s elbow, a car mirror — anything bright or sharp at the edge of the frame will pull the eye away from the subject. Clean edges = clean photo.
Fixing Framing in Post-Production
Sometimes you don’t get it right in camera. That’s fine — cropping and straightening in post can rescue a shot, as long as you have enough resolution to spare. The rule of thumb: you can always crop tighter, but you can’t add back what you didn’t shoot. So when in doubt, shoot a little wider than you think you need. It gives you room to reframe later.
Post is also where you can enhance a frame that’s already there — darken the edges with a subtle vignette to push the eye inward, or use a color grading treatment to make the subject warmer and the surrounding frame cooler. Good portrait retouching techniques often include dodging and burning to subtly lighten the subject and darken the frame around them — that’s framing with light, even when no physical frame exists.
If you’re shooting at volume — weddings, events, ecommerce — you’ll quickly find that culling, cropping, and retouching hundreds of images eats more time than the shoot itself. That’s when most pros decide to outsource photo editing rather than spend their evenings at a desk. The photo editing cost per image is usually far less than the value of the shooting hours you get back.
Advanced Tips for When You’re Ready to Push Further
Once the basics are second nature, these are the moves that separate good from great.
- Frame with motion. Let a passerby walk through the edge of your frame, slightly blurred. It adds life and a sense that the world continues beyond the photo’s borders.
- Break the frame deliberately. Let your subject partially step out of the inner frame — an arm, a shoulder, a gaze directed beyond it. That tension between inside and outside creates energy.
- Use a telephoto lens to compress frames. A longer lens flattens distance, so a frame in the foreground and a subject far away feel closer together. It makes frame-within-frame shots tighter and more graphic.
- Half-close your eyes. Seriously. Squint at the scene. The details drop away and you see the big shapes and light patches. If the frame reads clearly when you squint, it’ll read clearly in the photo.
- Shoot through things. Fabric, glass, rain-streaked windows, even a fern leaf held in front of the lens. A partially obscured foreground frame adds mystery and texture. Just make sure the subject’s eyes stay sharp.
Frequently Asked Questions
What is framing in photography in simple terms?
Framing means using elements in the scene — or the edges of your photo itself — to draw the viewer’s eye to your subject. A doorway, a window, tree branches, or even a patch of light can act as a frame. It adds focus, depth, and context to an image.
What’s the difference between framing and composition?
Composition is the whole arrangement of elements in your photo — subject placement, balance, lines, color. Framing is one specific compositional tool: using a surrounding element to enclose or border the subject. All framing affects composition, but not all composition uses framing.
What are the most common types of framing in photography?
The eight main types are architectural (doorways, windows, arches), natural (trees, caves, foliage), light and shadow, leading lines, reflections, human (hands, other people), negative space, and the classic frame within a frame (multiple nested borders).
Why do photographers use framing?
Framing directs attention to the subject, adds a sense of depth and three-dimensionality, gives context about where the photo was taken, and creates a story or mood — from intimacy to mystery to voyeurism.
Can you fix bad framing in post-production?
Partially. Cropping and straightening can improve composition if you shot wide enough, and a vignette or dodging-and-burning can strengthen a frame that’s already there. But you can’t add back a doorway or arch you didn’t include in the original shot — framing is mostly an in-camera skill.
What’s the difference between framing and the rule of thirds?
The rule of thirds is a placement guideline — put your subject at one of the four intersection points of a 3×3 grid. Framing is about using surrounding elements to enclose the subject. They often work together: you frame a subject in a doorway and place that doorway on a thirds intersection.
What is a frame within a frame?
A frame within a frame is when you use an object in the scene — a window, a mirror, a doorway — to create a second “frame” inside the outer border of your photo. The subject sits inside that inner frame, which adds depth and pulls the viewer’s eye inward.
How can a beginner practice framing?
The fastest way is a 30-day challenge: every day, take one photo using a different type of frame — a window, a doorway, a reflection, foliage, a shadow, hands. Force yourself to find at least one frame per day, and within a month you’ll start seeing them everywhere without trying.
One Last Thought
Framing is really just another word for paying attention. The masters didn’t have better locations or fancier gear — they had the habit of looking around the subject, not just at it. Once you start noticing frames, you can’t stop: every doorway, every window, every puddle becomes a potential photograph. That shift in attention is the real skill. The rest is just practice.