
How Photographers Lose Clients Because of Inconsistent Editing
January 15, 2026
Photography Tips 2026: The Modern Beginner-to-Pro Playbook for Sharper, Smarter, More Story-Driven Photos
January 17, 2026
Have you ever snapped a perfect portrait, only to notice distracting bald spots ruining the overall look ? These imperfections often stem from lighting issues, hair thinning, or even digital artifacts in the image. You can transform those flawed photos into polished masterpieces with the right techniques. Professionals rely on precise editing methods to ensure hair appears full and natural. This comprehensive guide walks you through the process, helping you achieve flawless results every time.
- Understanding Bald Spots in Photos
- Essential Tools for Removing Bald Spots
- Preparing Your Photo for Editing
- Step-by-Step Guide to Remove Bald Spots
- Advanced Techniques for Flawless Results
- Common Mistakes to Avoid in Hair Retouching
- Professional Tips for Consistent Edits
- When to Seek Expert Assistance
- Conclusion
- Frequently Asked Questions (FAQs)
Understanding Bald Spots in Photos
Bald spots show up in photos for various reasons, and recognizing them sets the foundation for effective removal. Harsh lighting casts shadows that mimic thinning hair, while actual hair loss in subjects creates visible patches. Digital noise from low-quality cameras exacerbates these issues, making spots more prominent. You spot these flaws during post-processing, but addressing them early saves time. Photographers often encounter this in headshots or event photography, where details matter most.
Consider how environmental factors play a role. Wind or movement during shooting displaces hair, revealing scalp areas. Aging or medical conditions in models sometimes highlight natural baldness. You evaluate the image’s resolution first, as low-res files limit editing precision. High-quality RAW formats provide more data for manipulation, allowing smoother corrections. Mastering this step ensures your edits blend seamlessly with the original photo.
Professionals emphasize consistency in identifying these spots. You zoom in to 200% or more to inspect pixel-level details. Tools like histograms help assess exposure, which influences how bald areas appear. Overexposed highlights wash out hair, while underexposed shadows deepen patches. You adjust these elements before diving into removal, creating a balanced canvas for work.
Essential Tools for Removing Bald Spots
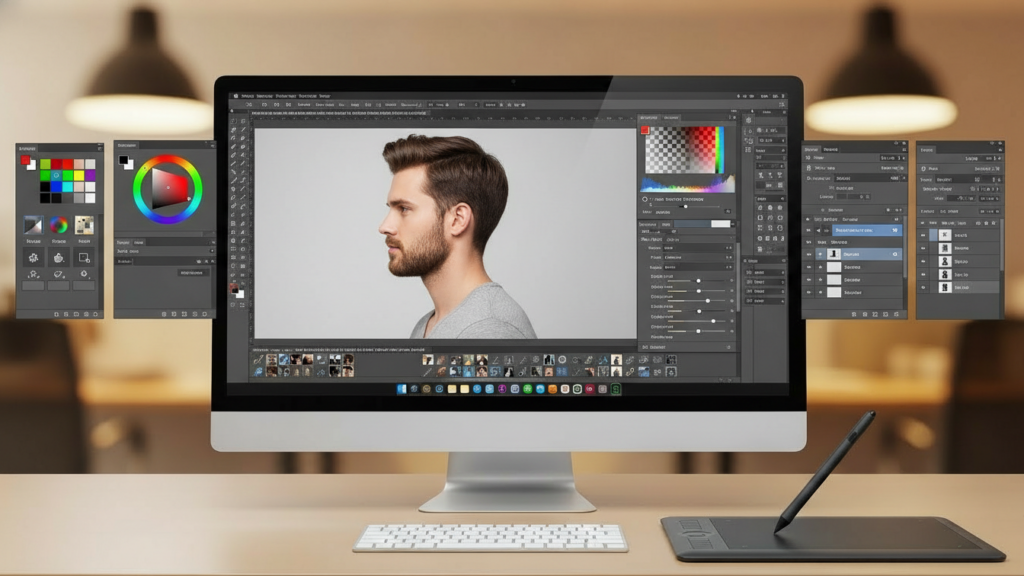
You need reliable software to tackle bald spots effectively. Adobe Photoshop stands out as the industry standard for photo retouching. This powerful program offers layers, brushes, and healing tools that make edits precise. You access it through a subscription, gaining updates and new features regularly. Beginners find the interface intuitive after some practice, while pros appreciate its depth.
Explore Photoshop’s healing brush for sampling nearby textures. The clone stamp tool duplicates hair patterns accurately. You customize brush sizes and hardness for natural blends. Layer masks allow non-destructive edits, preserving the original image. Professionals pair this with a graphics tablet for finer control over strokes.
Other accessories enhance your workflow. A calibrated monitor ensures color accuracy, preventing mismatched tones in repaired areas. High-speed computers handle large files without lag. You organize your workspace with custom panels for quick tool access. Investing in these elements elevates your editing game significantly.
For those seeking advanced capabilities, Photoshop integrates with plugins that automate repetitive tasks. You experiment with frequency separation techniques to separate texture from color. This method refines hair details without altering skin tones. Practice on sample images builds confidence before applying to client work.
Preparing Your Photo for Editing
Start by importing your image into the editing software. You duplicate the background layer to work safely. Adjust overall exposure using levels or curves tools. Brighten shadows slightly to reveal hidden details in bald areas. You sharpen the image moderately, avoiding artifacts that complicate removal.
Crop the photo if needed to focus on the affected region. You remove distractions like background clutter. Set the color mode to RGB for full editing flexibility. Calibrate white balance to ensure skin and hair tones look natural. These steps create an optimal starting point.
Organize your layers logically. Name them clearly, such as “Hair Repair” or “Texture Layer.” You zoom in frequently to check progress. Save versions at key stages to revert if necessary. This preparation phase streamlines the actual removal process.
Professionals stress backing up files before edits. You use external drives or cloud storage for security. Test adjustments on a small section first. Refine your approach based on results, ensuring consistency across the image. Patience here pays off in the final output.
Step-by-Step Guide to Remove Bald Spots
Begin with the spot healing brush tool. You select it from the toolbar and set the brush size to match the bald spot’s diameter. Sample nearby healthy hair by holding the Alt key. Brush over the patch gently, allowing the software to blend pixels automatically. Check the edges for smoothness and repeat as needed.
Move to the clone stamp for more control. You choose a soft brush to avoid hard lines. Sample a source point close to the spot, then paint over it carefully. Align the direction of hair strands for realism. Use short strokes to build up coverage gradually.
Incorporate the patch tool for larger areas. You lasso around the bald spot loosely. Drag the selection to a similar textured region. The tool merges the content intelligently. Feather the edges post-application to integrate seamlessly. This method works well for uniform scalp exposures.
Refine with frequency separation. You create high and low-frequency layers. Edit the high-frequency layer for texture details using the healing brush. Adjust the low-frequency for color consistency with a soft brush. Recombine layers to see the natural result. This advanced step elevates your edits.
Layer in additional hair strands if required. You use a fine brush with hair-like opacity. Draw individual strands following natural flow. Vary thickness and color slightly for authenticity. Blur lightly to match the photo’s depth of field.
Finally, apply overall adjustments. You add a curves layer to enhance contrast in hair. Dodge and burn tools highlight and shadow strategically. Export the file in high quality, preserving all details. Review on different devices for consistency.
Advanced Techniques for Flawless Results
Dive deeper with masking techniques. You create a layer mask on your repair layer. Paint with black to hide edits, white to reveal. This allows precise control over blended areas. Professionals use this for complex hair patterns around the scalp.
Experiment with content-aware fill. Select the bald spot and choose this option from the edit menu. The software analyzes surrounding pixels to generate fitting content. Refine the output with manual touches for perfection. This saves time on repetitive spots.
Incorporate dodging and burning for depth. You use a soft brush at low opacity. Lighten raised hair areas and darken recesses. This creates dimension, making repaired spots indistinguishable. Practice on grayscale layers first to master the effect.
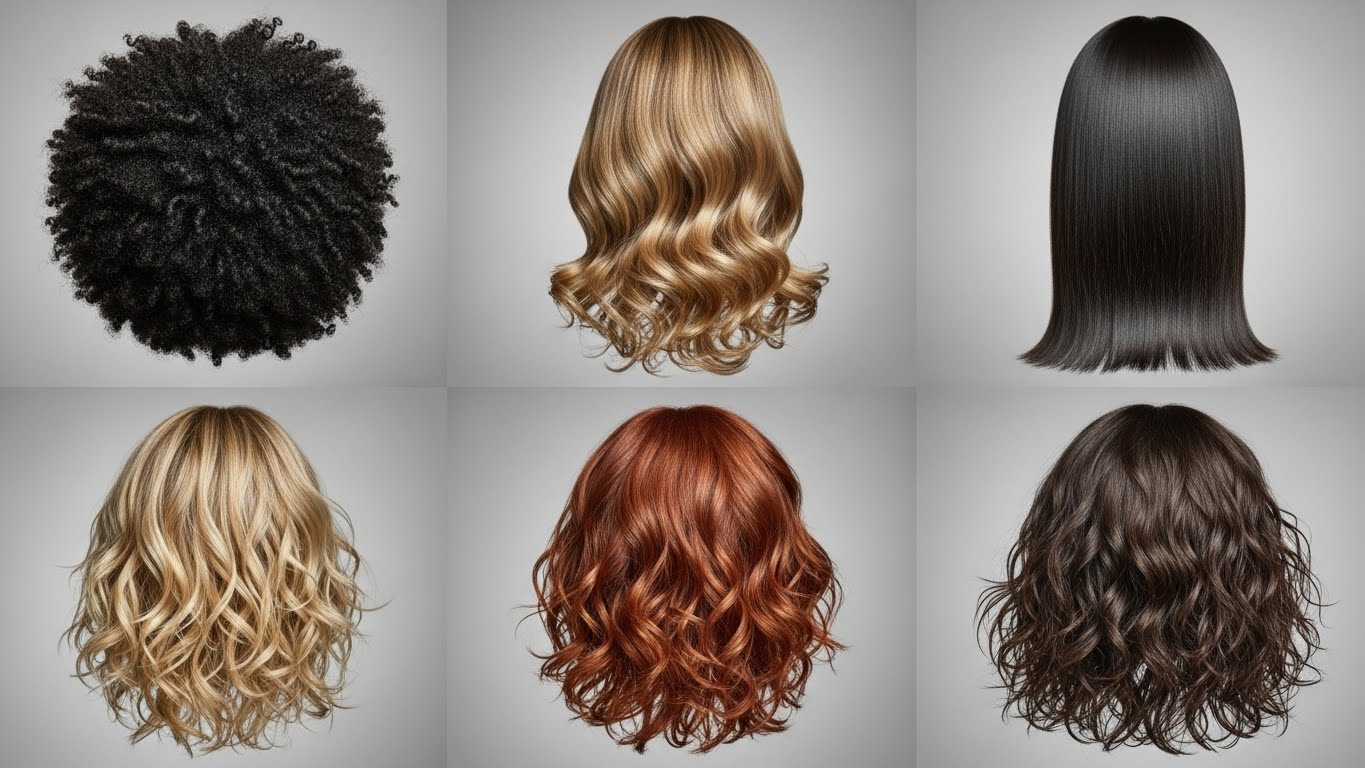
For curly or textured hair, sample multiple sources. You rotate the clone stamp to match curl directions. Adjust hue and saturation post-clone for color harmony. These nuances prevent flat, unnatural appearances.
Explore frequency-based retouching further. Separate frequencies using Gaussian blur. Edit each independently to target specific issues. This preserves skin texture while enhancing hair fullness. Experts swear by this for high-end portraits.
Common Mistakes to Avoid in Hair Retouching
Over-editing ranks as a top error. You apply too many strokes, creating unnatural density. Step back periodically to assess the whole image. Subtle changes often suffice for realistic results.
Ignore lighting consistency at your peril. Mismatched shadows in repaired areas stand out. You match the light source direction when cloning. Use adjustment layers to unify tones across the photo.
Skip layer organization, and chaos ensues.Unnamed layers confuse revisions. You label and group them logically. This habit streamlines workflows for future projects.
Rush the sampling process. Poor source choices lead to repetitive patterns. You select varied samples to avoid tiling effects. Rotate and flip sources for diversity.
Neglect zoom levels during work. Editing at 100% misses fine details. You work at higher magnifications for accuracy. Toggle views to ensure edits hold up at normal size.
Photographers often lose clients due to inconsistent editing, as highlighted in this insightful article on how photographers lose clients because of inconsistent editing. Maintain standards to build trust.
Professional Tips for Consistent Edits
Practice on diverse images to hone skills. You edit portraits from different angles and lighting. This builds versatility in handling bald spots.
Seek feedback from peers. Share before-and-after versions online. Incorporate suggestions to improve techniques. Communities offer valuable insights.
Update your software regularly. New versions introduce better tools. You explore tutorials for emerging features. Staying current keeps edits professional.
Time your sessions wisely. Fatigue leads to errors. You take breaks to maintain focus. Fresh eyes spot issues overlooked earlier.
Document your process. Note successful settings and brushes. Refer back for efficiency in similar edits. This creates a personal playbook.
For clean, high-quality images, consider mastering clipping paths. This guide on professional clipping path techniques provides in-depth strategies.
When to Seek Expert Assistance
Some photos challenge even seasoned editors. Complex backgrounds or severe baldness require pro intervention. You recognize your limits to avoid frustration.
Outsourcing saves time for creative tasks. Services handle bulk edits efficiently. You focus on shooting while experts perfect images.
Professional retouchers use specialized tools. They achieve results beyond basic software. Invest in quality for client satisfaction.
Explore options like Clipping Expert Asia for reliable photo editing services. Their team delivers polished outcomes consistently.
Conclusion
Removing bald spots from photos transforms ordinary images into professional-grade art. You follow these steps to achieve natural, seamless results. Practice refines your skills, leading to consistent excellence. Embrace the process, and watch your portfolio shine.
Whether editing personal snaps or client work, these techniques empower you. Share your successes and learn from challenges. The world of photo retouching offers endless possibilities.
Frequently Asked Questions (FAQs)
What causes bald spots to appear in photos?
Bald spots often result from lighting shadows, hair movement, or actual thinning. Digital artifacts in low-quality images can also create these illusions. You identify them by zooming in during editing.
Can I remove bald spots without Photoshop?
Yes, free alternatives like GIMP offer similar tools. However, Photoshop provides more advanced features for pro results. You adapt the steps to your chosen software.
How long does it take to remove a bald spot?
Simple spots take 5-10 minutes, while complex ones require 30 minutes or more. Experience speeds up the process. You practice to reduce time.
Will removing bald spots make the photo look fake?
Not if you use subtle techniques and match textures. Over-editing causes unnatural looks. You blend carefully for realism.
Is it ethical to remove bald spots in portraits?
It depends on context. For commercial work, enhancements are standard. Always get subject consent for personal photos. You balance authenticity with improvement.