

How Many Photos Can 64GB Hold?
February 17, 2026
How Big Is a 4×6 Photo? Complete Guide
February 18, 2026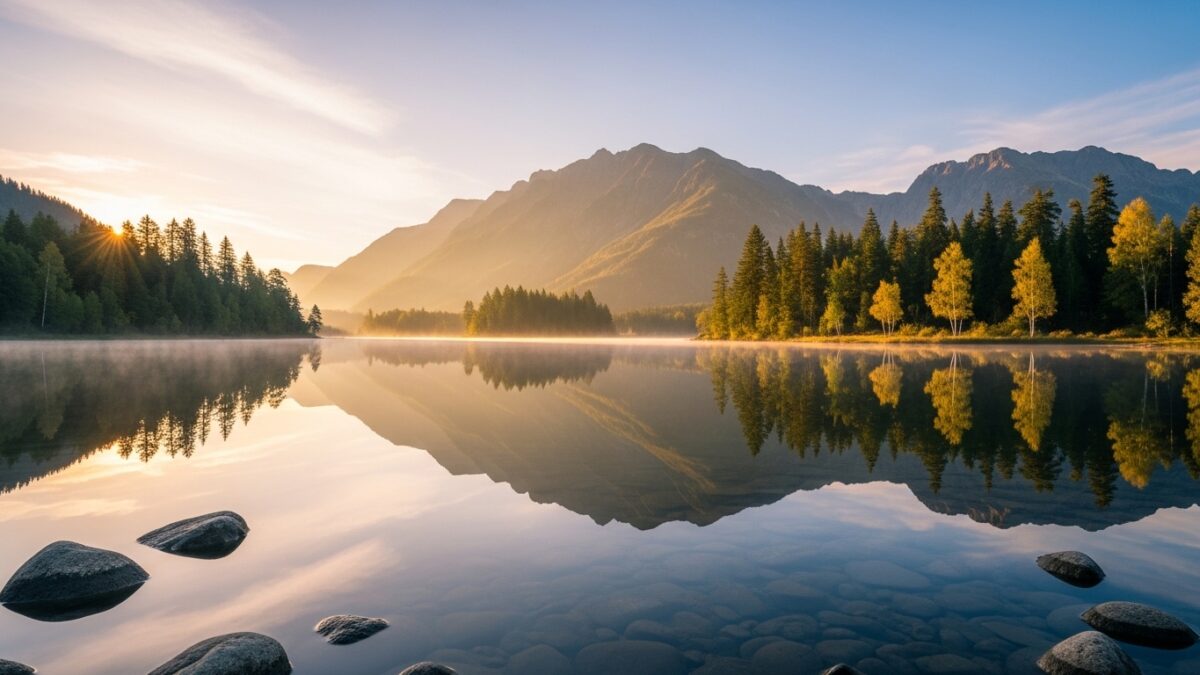
Photographers and digital artists often seek ways to enhance their images with captivating effects that mimic nature’s beauty. One popular technique involves adding a realistic water reflection to make scenes more immersive and dynamic. In Adobe Photoshop CS6, you achieve this by layering tools and adjustments that simulate how light interacts with water surfaces. This tutorial guides you through the process step by step, helping you transform ordinary photos into stunning visuals. Whether you work on landscape photography or creative composites, mastering this effect opens up endless possibilities for your projects.
You start with a basic understanding of Photoshop’s interface and tools. If you feel rusty, brush up on layers, masks, and blending modes first. Professionals frequently use these reflections to add depth to product images or promotional materials. For instance, e-commerce sites benefit from such enhancements to make products appear more appealing in watery settings.
We create custom reflections for e‑commerce. Try our realistic shadow creation for free
- Preparing Your Image for the Water Reflection Effect
- Step 1: Flipping the Image to Create the Base Reflection
- Step 2: Adding Ripple and Distortion for Realism
- Step 3: Blurring to Simulate Water Depth
- Step 4: Adjusting Colors and Tones for Authenticity
- Step 5: Incorporating Water Texture Overlays
- Advanced Techniques for Enhanced Water Reflections
- Tips and Tricks for Perfecting Your Reflection Effect
- Common Mistakes to Avoid in Water Reflection Creation
- Conclusion: Elevate Your Photoshop Skills with Water Reflections
- Frequently Asked Questions (FAQs)
Preparing Your Image for the Water Reflection Effect
Before diving into the creation process, you select the right image. Choose a photo with a clear horizon line, such as a cityscape, mountain view, or even a portrait near a body of water. High-resolution images work best because they allow for detailed manipulations without losing quality.
Open your chosen image in Adobe Photoshop CS6. Go to File > Open and navigate to your file. Ensure the image measures at least 2000 pixels wide for optimal results. Duplicate the background layer by right-clicking it in the Layers panel and selecting Duplicate Layer. Name this new layer “Original” to keep things organized. This step protects your source material from accidental changes.
Adjust the canvas size to accommodate the reflection. Select Image > Canvas Size, and double the height while keeping the width the same. Anchor the extension to the bottom so the extra space appears below your image. This creates room for the mirrored effect without cropping important elements.
You might want to straighten the horizon if it’s uneven. Use the Ruler tool to draw a line along the edge, then go to Image > Image Rotation > Arbitrary to correct it. A level base makes the reflection look more believable.
For those interested in advanced image preparation techniques, check out Adobe’s official resources on canvas adjustments at Adobe Help Center. These tips ensure your foundation stays solid.
Step 1: Flipping the Image to Create the Base Reflection
With your canvas ready, you create the initial mirror image. Select the duplicated layer and go to Edit > Transform > Flip Vertical. This inverts the layer, forming the basic reflection.
Position this flipped layer below the original by dragging it in the Layers panel. Align the bottom of the original image with the top of the flipped one using the Move tool. Hold Shift while dragging to keep it straight.
At this point, the reflection appears too perfect, like a mirror rather than rippling water. Real water distorts reflections due to waves and currents, so you prepare for those adjustments next.

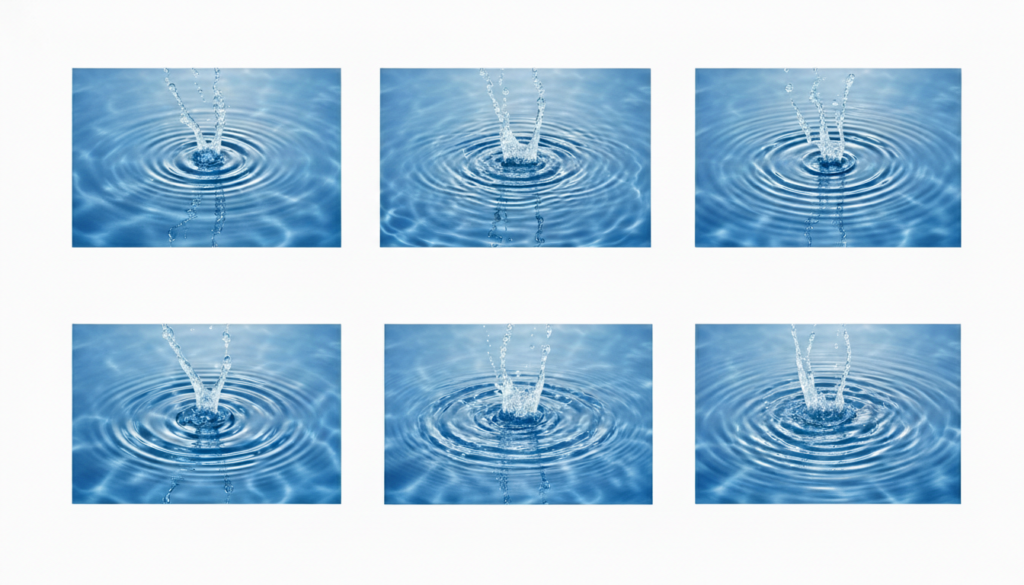
Step 2: Adding Ripple and Distortion for Realism
To make the reflection realistic, you introduce subtle distortions. Duplicate the flipped layer and name it “Ripple Base.” Apply the Wave filter by going to Filter > Distort > Wave. Set the number of generators to 3-5, wavelength from 10 to 200, and amplitude around 5-10. Experiment with sine or square types for varied ripple patterns.
This filter creates wave-like undulations, mimicking gentle water movement. If the effect feels too strong, reduce the amplitude or use the Fade command under Edit > Fade Wave to tone it down.
Next, add the Ripple filter for finer details. Select Filter > Distort > Ripple, and choose a small size with amount set to 100-200%. This adds smaller waves that enhance the overall texture.
Blend these distortions by setting the layer’s blending mode to Overlay or Soft Light in the Layers panel. Adjust opacity to 50-70% until it looks natural. Remember, overdoing distortions can make the water appear turbulent instead of calm.
Step 3: Blurring to Simulate Water Depth
Water reflections often soften edges due to depth and motion. Apply a Gaussian Blur to the ripple layer. Go to Filter > Blur > Gaussian Blur and set the radius to 2-5 pixels. This creates a hazy effect, as if viewing through shallow water.
For deeper realism, use a gradient mask. Create a new layer mask on the ripple layer by clicking the mask icon. Select the Gradient tool, choose a black-to-white linear gradient, and drag from the bottom up. This fades the reflection gradually, making it less sharp at the edges.
Adjust the mask’s density if needed by painting with a soft brush in grayscale. White reveals more, black hides. This technique ensures the reflection blends seamlessly with the water surface.
Reflections + transparency = our specialty. Check our process
Step 4: Adjusting Colors and Tones for Authenticity
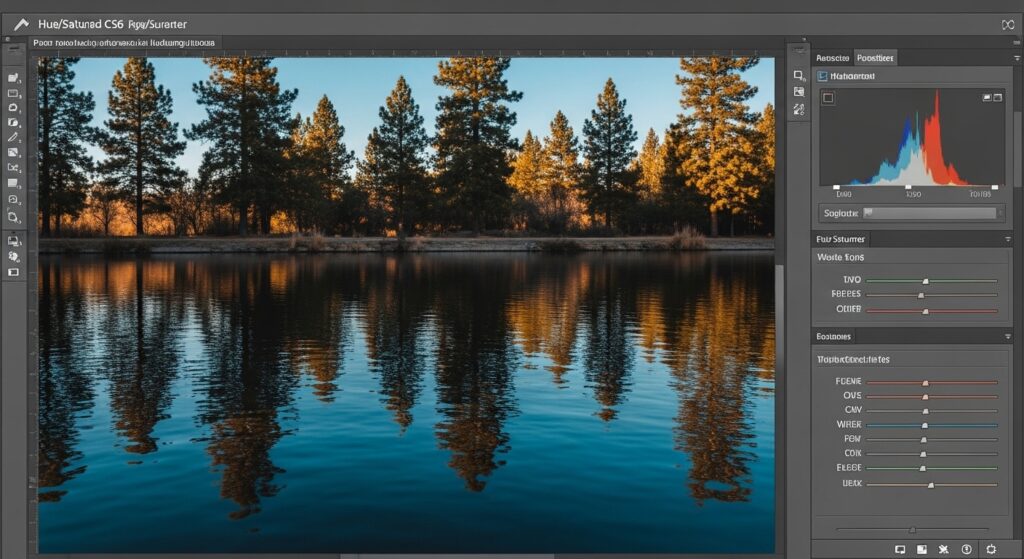
Colors in reflections differ from the original due to water’s filtering properties. Desaturate the reflection layer slightly by going to Image > Adjustments > Hue/Saturation. Reduce saturation by 20-30% to mimic underwater muting.
Match tones by adding a blue tint. Create a new adjustment layer via Layer > New Adjustment Layer > Color Balance. Shift midtones toward cyan and blue, around +10 to +20. Clip this layer to the reflection by right-clicking and selecting Create Clipping Mask.
Enhance contrast with a Curves adjustment. Add another adjustment layer, pull the curve into an S-shape for deeper shadows and brighter highlights. This makes the water appear reflective without overpowering the scene.
Step 5: Incorporating Water Texture Overlays
For extra realism, overlay a water texture. Find a free water ripple texture online or create one using brushes. Import it as a new layer above the reflection.
Set the blending mode to Screen or Overlay, and reduce opacity to 30-50%. Use the Warp tool under Edit > Transform > Warp to conform it to your scene’s perspective.
If you lack textures, generate simple ones with the Noise filter. Create a new layer, fill with gray, add noise via Filter > Noise > Add Noise (20-30%), then blur slightly.
This step elevates the effect from flat to textured, as if light dances on actual waves.
Advanced Techniques for Enhanced Water Reflections
Take your skills further by adding motion blur for flowing water. Duplicate the reflection layer, apply Filter > Blur > Motion Blur with a horizontal angle and distance of 5-10 pixels. Mask it to affect only certain areas.
Incorporate displacement maps for complex distortions. Create a grayscale map from a wave pattern, then use Filter > Distort > Displace on your reflection layer, pointing to the map file.
These methods suit advanced users aiming for photorealistic results in portfolios or commercial work.
For inspiration on advanced Photoshop techniques, visit Photoshop Essentials.
Tips and Tricks for Perfecting Your Reflection Effect
Experiment with layer styles like Inner Glow for subtle highlights on water edges. Set it to a soft blue with low opacity.
Save versions at each step using Layer Comps for easy reversion.
Test on different images urban scenes versus nature to see variations.
Combine with other effects, like fog overlays, for atmospheric depth.
Practice on low-res copies first to speed up workflow.
Common Mistakes to Avoid in Water Reflection Creation
Many beginners make the reflection too symmetrical. Always add distortions to break perfection.
Avoid over-blurring, which can make water look murky instead of clear.
Don’t ignore color shifts; unadjusted tones scream “fake.”
Forgetting to extend the canvas leads to cramped compositions.
Overusing filters piles on artifacts layer subtly.
Test on multiple monitors for consistent viewing.
Conclusion: Elevate Your Photoshop Skills with Water Reflections
Creating a realistic water reflection in Adobe Photoshop CS6 transforms your images into captivating artworks. By following these steps from flipping and distorting to coloring and texturing you produce effects that rival professional edits. Practice regularly, and soon you’ll apply this to diverse projects, boosting your creative output.
Share your results in communities or seek feedback to refine further. With tools like these, Photoshop CS6 remains a powerhouse for digital artists.
Stop faking reflections. Get a free quote for professional shadow and reflection services
Frequently Asked Questions (FAQs)
What version of Photoshop do I need for this water reflection effect?
You can use Adobe Photoshop CS6 or later versions, as the core tools like filters and adjustments remain similar across updates.
How long does it take to create a realistic water reflection in Photoshop CS6?
Beginners might spend 30-60 minutes on a simple image, while experienced users complete it in 10-20 minutes with practice.
Can I apply this water reflection effect to videos in Photoshop CS6?
Photoshop CS6 handles basic video editing, but for reflections, export frames, apply the effect, and reassemble in a video editor like Premiere.
What if my water reflection looks too artificial?
Reduce filter intensities, add subtle textures, and adjust opacities gradually to blend it naturally with the original image.
Are there free alternatives to Photoshop for water reflections?
Tools like GIMP offer similar filters, but Photoshop CS6 provides more precise controls for professional results.
How do I save my Photoshop file with the water reflection effect?
Save as a PSD to preserve layers, or export as JPEG/PNG for sharing, ensuring you flatten if needed.
Can I use this technique for other reflection effects, like mirrors?
Yes, adapt it by skipping ripples and focusing on sharp flips with minimal blurring for mirror-like surfaces.