

How to Create a Realistic Water Reflection Effect in Adobe Photoshop CS6
February 17, 2026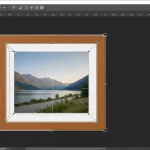
Placing an Image Inside of Another With Photoshop: Complete Step-by-Step Guide
February 18, 2026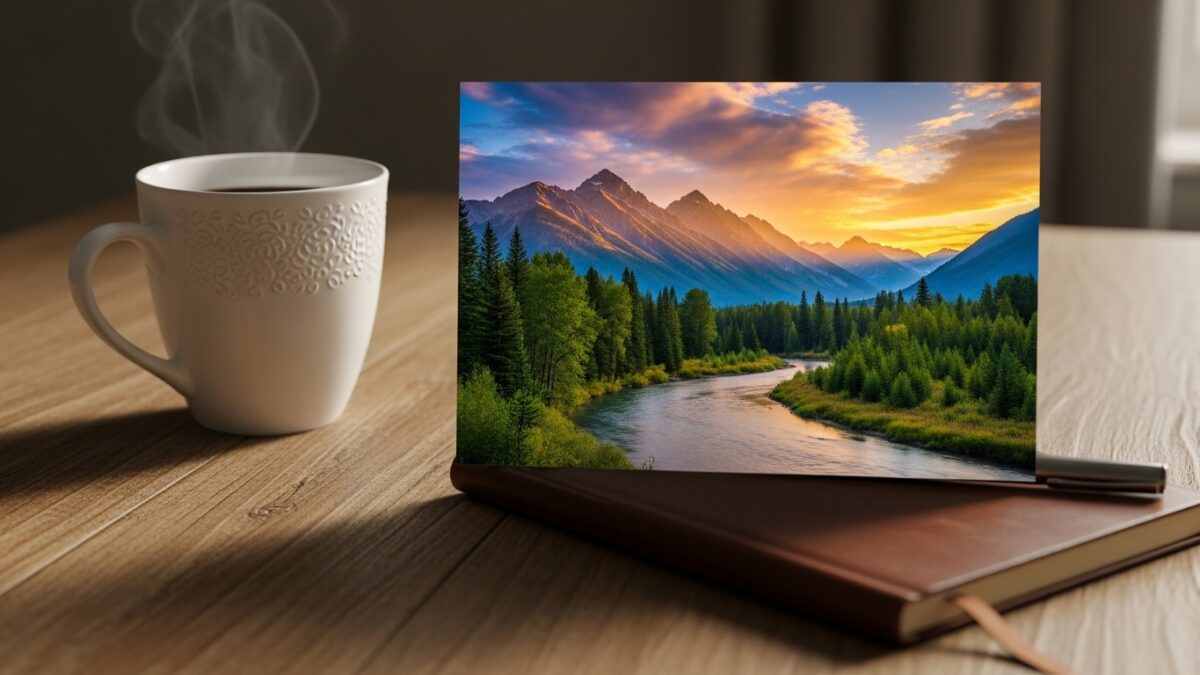
People often snap pictures with their phones or cameras, but they wonder about the actual size when it comes time to print them. A 4×6 photo stands out as one of the most popular formats for turning digital memories into tangible keepsakes. You see these prints everywhere, from family albums to office desks, because they strike a perfect balance between portability and detail. Professionals and hobbyists alike choose this size for its versatility in displaying everyday moments without overwhelming space.
This format fits snugly into wallets, frames, or envelopes, making it ideal for sharing with loved ones. Photographers appreciate how it maintains the classic aspect ratio from traditional film cameras, ensuring compositions look natural. Home printers handle it easily, and photo labs produce batches quickly at affordable prices. Whether you plan to frame vacation shots or create a collage of family portraits, understanding the dimensions helps you avoid common pitfalls like cropping errors or pixelation issues.
Multiple colour variations for small prints? Easy. See our multi‑clipping path examples
- What Exactly Is a 4x6 Photo
- Dimensions in Various Units
- The History Behind the 4x6 Size
- Common Uses for 4x6 Photos
- How to Print 4x6 Photos at Home
- Resizing Your Images for Perfect 4x6 Prints
- Enhancing Photos with Professional Editing Tools
- Frames and Albums for Displaying 4x6 Photos
- Tips for Achieving High-Quality 4x6 Prints
- Professional Services for Photo Editing
- Frequently Asked Questions
What Exactly Is a 4×6 Photo
Photographers and casual users define a 4×6 photo by its standard measurements in the printing world. This size refers to a print that measures 4 inches in width and 6 inches in height, creating a rectangular shape perfect for landscape orientations. Portrait mode works too, but most people associate it with horizontal layouts. Printing services worldwide recognize this as a staple option, often labeling it simply as “4×6” on order forms.
You encounter this format in various contexts, from drugstore kiosks to online upload platforms. It evolved from film photography standards, where the proportions matched common negative sizes. Today, digital cameras and smartphones capture images that align well with these dimensions, reducing the need for excessive cropping. Enthusiasts value it for preserving the full frame of shots without distortion.
Printers produce these photos on glossy, matte, or luster paper, each offering different textures and light reflections. Glossy finishes enhance colors for vibrant scenes, while matte options minimize glare in bright rooms. Many labs offer borderless printing, allowing the image to extend to the edges for a modern look. Borders add a classic touch, mimicking old-school photo booths.
Dimensions in Various Units
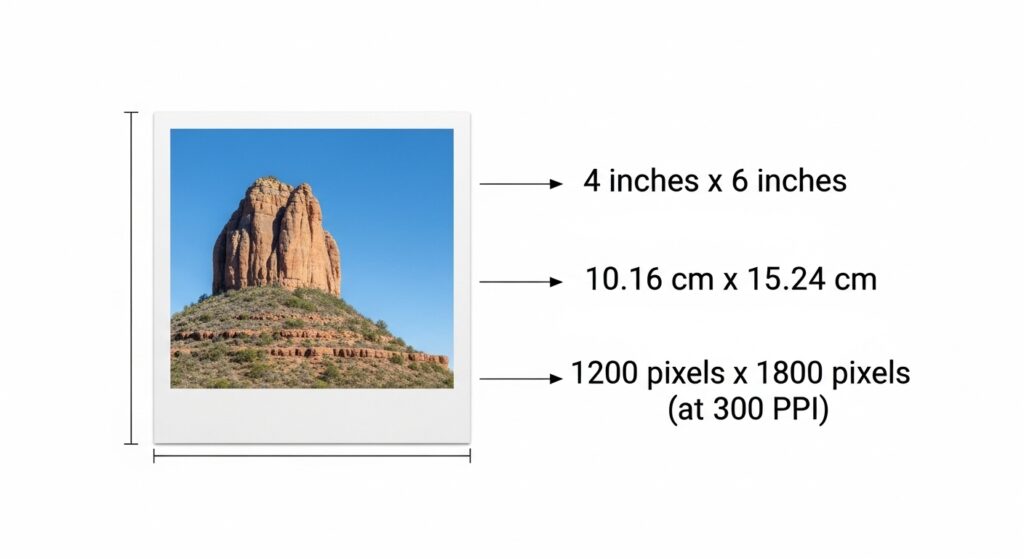
You measure a 4×6 photo primarily in inches, but conversions to other units help in international contexts or precise planning. In inches, it spans exactly 4 by 6, providing a compact yet visible display area. Centimeters translate this to 10.16 by 15.24, a handy figure for metric users ordering frames or mats.
Millimeters offer even finer detail, with dimensions of 101.6 by 152.4, useful for graphic designers scaling artwork. Pixels depend on resolution; at 300 DPI, a standard for high-quality prints, you need 1200 by 1800 pixels to avoid blurriness. Lower resolutions like 200 DPI work for casual viewing but show flaws up close.
Aspect ratio plays a key role here, sticking to 2:3 for balanced compositions. This ratio ensures images from most cameras fit without awkward stretches. Professionals adjust DPI based on viewing distance; closer inspections demand higher settings. Home setups benefit from understanding these units to match printer capabilities accurately.
The History Behind the 4×6 Size
Photographers trace the roots of the 4×6 size back to the early 20th century when 35mm film revolutionized the industry. Kodak introduced 35mm film in 1934, standardizing frames at 24 by 36 millimeters with a 3:2 aspect ratio. This ratio naturally led to prints that scaled up to 4 by 6 inches without losing proportions.
Early adopters favored smaller sizes like 3.5 by 5 inches, known as 3R in the trade. By the late 1980s, however, 4×6 emerged as the dominant choice, overtaking its predecessor in popularity. Photofinishing labs adapted quickly, offering affordable enlargements that fit postcards and albums seamlessly.
The shift coincided with the rise of point-and-shoot cameras, which encouraged casual snapping. Consumers demanded larger prints to showcase details, and 4×6 delivered without excessive cost. This size influenced everything from holiday cards to school portraits, embedding itself in cultural practices. Even as digital photography took over, the format persisted due to its familiarity and compatibility with existing equipment.
Common Uses for 4×6 Photos
Families fill albums with 4×6 photos to preserve milestones like birthdays and weddings. These prints slip easily into standard sleeves, creating organized collections that last generations. Travelers carry them in wallets for quick reminders of adventures abroad.
Crafters incorporate 4×6 prints into scrapbooks, adding stickers and notes for personalized storytelling. Businesses use them for promotional postcards, mailing vivid images to potential clients. Event planners hand out these photos as favors, capturing smiles at parties or conferences.
Artists display series of 4×6 works in small frames on gallery walls, creating intimate viewing experiences. Teachers employ them in classrooms for visual aids, illustrating lessons with real-world examples. Pet owners frame furry friends’ portraits, turning everyday snapshots into cherished decor. This size’s affordability encourages bulk printing for sharing at reunions or holidays.
How to Print 4×6 Photos at Home
You start by selecting high-quality photo paper designed for your printer model. Load the sheets into the designated tray, ensuring they align properly to prevent jams. Adjust settings in your software to match the 4×6 size, choosing borderless if desired for edge-to-edge results.
Preview the image on screen to check cropping; most programs allow adjustments before committing. Calibrate your monitor for accurate colors, avoiding surprises in the final output. Use genuine ink cartridges for vibrant hues and longevity. Print a test sheet on plain paper first to verify alignment.
Handle fresh prints carefully, allowing them to dry fully to prevent smudges. Store unused paper in a cool, dry place to maintain quality. Regular maintenance, like cleaning print heads, ensures consistent performance over time. Experiment with different finishes to find what suits your style best.
Resizing Your Images for Perfect 4×6 Prints
Editors crop images to the 3:2 aspect ratio before resizing to avoid distortion. Open your photo in editing software and set the crop tool to these proportions for precise trimming. Focus on key elements, ensuring the subject remains centered.
Scale the image to 1200 by 1800 pixels at 300 DPI for sharp results. Free tools let you input these dimensions directly, preserving quality during the process. Save in JPEG format for compatibility with most printers.
Check the file size; larger files often indicate better detail. Avoid upscaling low-resolution shots, as they lead to pixelation. Batch process multiple images for efficiency when preparing albums. Test prints confirm the resizing works as intended.
Enhancing Photos with Professional Editing Tools
You elevate your images using advanced software that offers precise control over colors and details. Adobe Photoshop provides tools like the crop function to adjust for 4×6 proportions seamlessly. Layers allow non-destructive edits, letting you experiment without risking the original file.
Sharpen edges with filters to enhance clarity in prints. Adjust brightness and contrast for balanced exposures, especially in varied lighting conditions. Advanced editors also use color correction to modify product colors without reshooting images. Remove blemishes using healing brushes for flawless portraits.
Organize workflows by creating actions for repetitive tasks, speeding up batch editing. Explore plugins for specialized effects, adding creative flair. Regular updates keep the software current with new features for better results.
Tiny prints need flawless backgrounds. Try our background removal service free on 2 photos
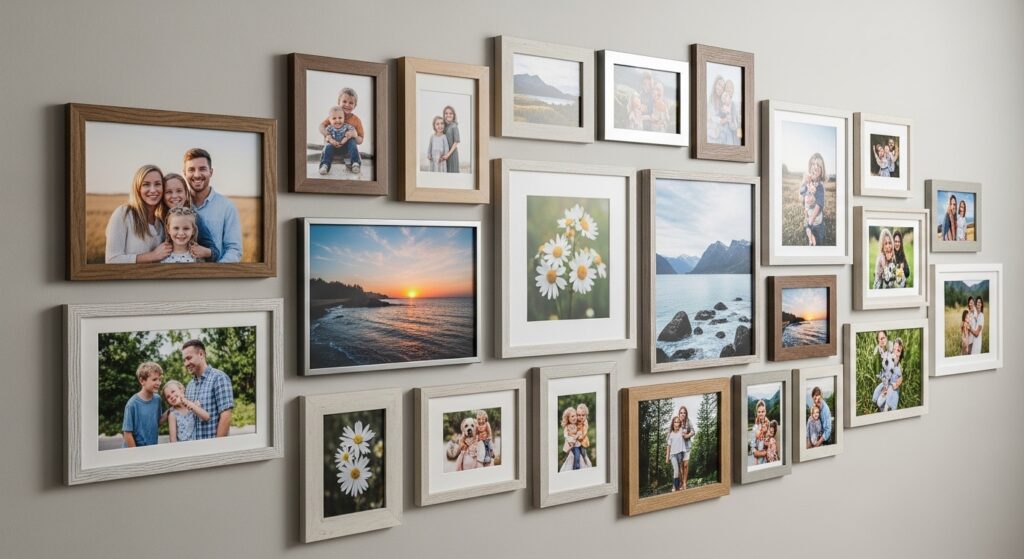
Frames and Albums for Displaying 4×6 Photos
Home decorators select frames that complement room aesthetics, ranging from sleek metal to rustic wood. Wall-mounted options create galleries, grouping several 4×6 prints for visual impact. Desk frames add personal touches to workspaces, holding single photos upright.
Albums accommodate hundreds of prints, with acid-free pages protecting against fading. Flip-style books offer easy viewing, perfect for coffee tables. Custom covers personalize collections, featuring engraved dates or names.
Magnetic frames attach to refrigerators, displaying recent snapshots casually. Multi-opening mats showcase themed series, like vacation highlights. Seasonal rotations keep displays fresh and engaging.
Tips for Achieving High-Quality 4×6 Prints
Photographers select the right resolution from the start, aiming for at least 300 DPI to capture fine details. They choose paper types that match the photo’s mood, like glossy for bold colors or matte for subtle tones. Regular printer calibration ensures colors print true to the screen.
They avoid over-editing, keeping adjustments natural to prevent artificial looks. Testing small batches identifies issues early, saving resources. Storing prints in cool, dark places preserves vibrancy over years.
Professionals use profiles for consistent output across devices. They handle media carefully to avoid fingerprints or bends. Upgrading equipment periodically improves overall quality.
Professional Services for Photo Editing
Businesses turn to experts for refined images that stand out in marketing materials. Services like background removal create clean, professional looks for product shots. Clipping Expert Asia specializes in precise cutouts using hand-drawn paths, ensuring edges remain natural and detailed. We also offer advanced ghost mannequin services for apparel photography, removing mannequins entirely to showcase realistic 3D garment forms starting from $0.89 per image.
Photo Retouching eliminates imperfections, smoothing skin or enhancing textures for portraits. Drop Shadow restores depth, making items appear realistic on new backgrounds. These techniques boost e-commerce appeal, increasing viewer engagement.
Teams handle large volumes quickly, supporting tight deadlines. Quality checks guarantee satisfaction, with revisions available. Affordable pricing makes professional editing accessible for small operations.
Frequently Asked Questions
- What are the exact dimensions of a 4×6 photo in centimeters?
A 4×6 photo measures 10.16 by 15.24 centimeters, making it easy to fit into international frames or albums. - How many pixels do I need for a sharp 4×6 print at 300 DPI?
You require 1200 by 1800 pixels to achieve crisp details without any blurriness in your prints. - Why does the 4×6 size come from 35mm film?
The 3:2 aspect ratio of 35mm film frames scaled perfectly to 4×6 inches, popularizing this format in the photofinishing industry. - Can I print 4×6 photos on regular paper at home?
Yes, but photo paper yields better results; regular paper works for drafts, then cut to size if needed. - What aspect ratio should I use when resizing for 4×6?
Stick to the 3:2 ratio to avoid cropping important parts of your image during the resizing process. - How do I choose between glossy and matte finishes for 4×6 prints?
Glossy enhances vibrant colors but shows glare; matte reduces reflections, ideal for well-lit display areas. - Where can I find affordable frames specifically for 4×6 photos?
Many retailers offer budget-friendly options, including multi-packs for galleries or single stands for desks.
Perfect print sizes start with perfect editing. Contact us for a free quote on clipping path services