

How Big Is a 4×6 Photo? Complete Guide
February 18, 2026
Best Free Photoshop Alternatives in 2026
February 19, 2026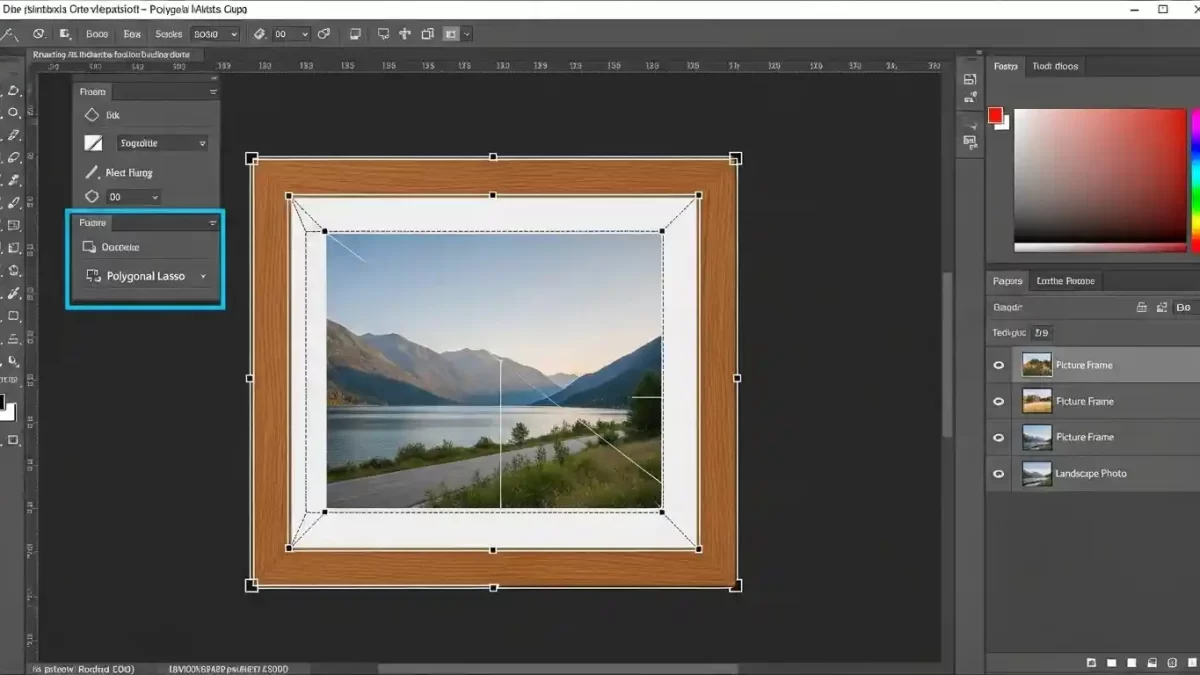
You open Photoshop and stare at two separate photos — one shows a beautiful wooden picture frame, the other captures a breathtaking mountain landscape. What if you could make that landscape appear perfectly inside the frame, as if someone hung a real window to the mountains on your wall? You achieve exactly that when you place an image inside another in Photoshop. Designers, photographers, and marketers use this powerful technique every day to create eye-catching product mockups, social media graphics, album covers, and stunning advertisements.
You discover how simple yet transformative this skill becomes once you master a few core methods. Whether you work with the classic Paste Into command, flexible clipping masks, or the modern Frame Tool, you gain complete creative control over your composites. You match lighting, adjust perspective, and add realistic shadows so viewers believe the image always belonged there.
- Why You Place Images Inside Others in Photoshop Every Day
- Prepare Your Workspace and Images for Flawless Results
- Master the Paste Into Command – Your Go-To Method for Precise Control
- Add Realism That Makes Viewers Believe the Composite
- Switch to Clipping Masks for Maximum Flexibility and Speed
- Use the Frame Tool for Lightning-Fast Placement in Modern Photoshop
- Explore Creative Projects That Wow Your Audience
- Follow These Pro Tips and Avoid Common Pitfalls
- When Professional Results Are Needed Fast
- Start Creating Amazing Composites Today
- Frequently Asked Questions
Why You Place Images Inside Others in Photoshop Every Day
Transform ordinary photos into compelling visuals that tell stories and sell ideas. E-commerce brands display products inside lifestyle scenes. Graphic designers create posters where text reveals scenic backgrounds. Photographers build dreamlike compositions that blend reality with imagination. This approach saves hours compared to shooting everything in-camera and provides unlimited creative freedom.
Use the technique for practical tasks as well. Mock up billboard designs, customize phone cases, or build social media stories that stop scrolls. Professionals rely on it for client presentations because clients visualize the final result instantly. Beginners appreciate the impressive results within minutes. Advanced users push boundaries with intricate multi-layer composites that look photorealistic.
Prepare Your Workspace and Images for Flawless Results
Start strong by choosing compatible images. Select high-resolution files that share similar lighting direction and color temperature. Open both images in Photoshop and check their pixel dimensions — resize if needed so the inserted photo matches the target area scale. Work in RGB color mode at 300 DPI for print projects or 72 DPI for web use.
Organize layers from the beginning. Name each layer clearly, such as “Base Frame” and “Inserted Landscape.” Save the work as a PSD file to preserve all layers and masks for future edits. Keep the Layers panel visible and dock the Properties panel for quick mask adjustments.
Master the Paste Into Command – Your Go-To Method for Precise Control
Turn to the Paste Into command for pixel-perfect placement inside irregular or angled areas. Photoshop automatically creates a layer mask from the selection, so only the chosen region shows the new image. Follow these steps and watch the magic happen. For the official Adobe guide on Paste Into and Paste Special commands, check their documentation.
Step 1: Open Both Images and Create a Precise Selection
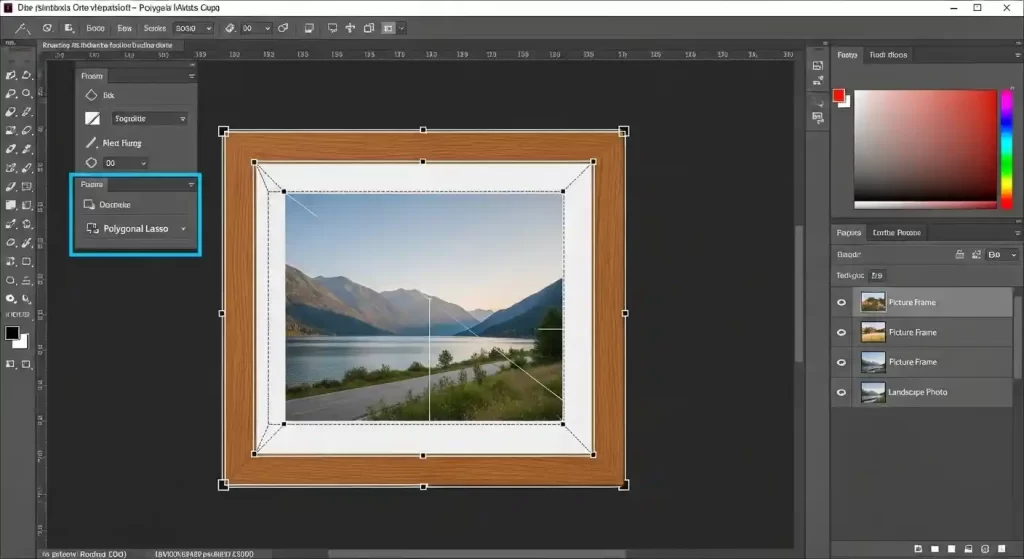
Open the target image first — the one that receives the inserted photo. Zoom in to 200% for accuracy. Choose the right selection tool based on the shape. For straight-edged areas like TV screens or picture frames, grab the Polygonal Lasso Tool. Click each corner point carefully, and Photoshop draws straight lines between clicks. Close the selection by clicking back on the starting point.
For curved or organic shapes, switch to the Pen Tool and draw a precise path, then convert it to a selection. Feather the selection edges by 1–2 pixels so the transition looks natural. Press Ctrl + Enter (Windows) or Command + Return (Mac) to turn the path into marching ants.
Selection tips for better results:
- Zoom to at least 200% when clicking points for maximum precision
- Use the Polygonal Lasso for geometric shapes (screens, frames, windows)
- Switch to the Pen Tool for smooth curves or complex organic edges
- Always apply 1–2 px feathering to avoid harsh cut-out edges
- Verify the selection closes properly (marching ants form a complete loop)
Step 2: Copy the Image You Want to Insert
Switch to the second document that contains the photo planned for placement inside. Press Ctrl + A (Command + A) to select everything. Copy with Ctrl + C (Command + C). Keep this image ready on the clipboard while returning to the target document.
Quick copy checklist:
- Ensure the correct document is active before selecting
- Use Ctrl + A to grab the entire layer/image quickly
- Confirm the copy is successful (no error messages)
- Avoid copying extra elements like backgrounds if not needed
Step 3: Paste the Image Directly Into Your Selection
Return to the target document where the selection remains active. Go to Edit > Paste Special > Paste Into. Photoshop instantly places the copied image on a new layer and generates a layer mask that hides everything outside the selection. The inserted photo appears only inside the chosen area.
Notice the layer thumbnail shows the full image while the mask thumbnail displays white inside the selected region and black outside. Click the chain icon between them to unlink the image and mask so the photo moves or resizes independently without changing the mask boundaries.
What happens after pasting:
- A new layer appears with an automatic layer mask applied
- White on the mask = visible area (inside selection)
- Black on the mask = hidden area (outside selection)
- Unlink the chain icon to move/resize content freely inside the mask
Step 4: Resize, Reposition, and Fix Perspective with Free Transform
Press Ctrl + T (Command + T) to enter Free Transform mode. Hold Shift + Alt (Shift + Option on Mac) while dragging corner handles to resize proportionally from the center. Drag inside the bounding box to reposition the image until the most important subject sits perfectly inside the frame or screen.
Right-click inside the transform box and choose Perspective when the target area sits at an angle. Drag one corner handle while the opposite corner moves symmetrically. Switch to Distort mode for even more control when one side needs independent adjustment. Hold Shift while dragging to constrain movement to straight lines.
Commit the transformation by pressing Enter or clicking the checkmark in the options bar. Toggle the layer mask visibility temporarily by Shift-clicking the mask thumbnail to preview the full image and fine-tune placement.
Free Transform best practices:
- Hold Shift to maintain proportions during resize
- Hold Alt/Option to resize from the center
- Use Perspective mode for angled surfaces (e.g., screens, posters)
- Switch to Distort for uneven corrections on one side
- Commit with Enter; cancel with Esc if adjustments look off
- Toggle mask visibility (Shift-click) to check full content alignment
Add Realism That Makes Viewers Believe the Composite
Match colors and lighting so nobody detects the edit. Select the inserted layer and go to Image > Adjustments > Match Color. Choose the target image as the source and adjust Luminance and Color Intensity sliders until tones blend seamlessly.
Clip adjustment layers to the inserted image for non-destructive tweaks. Add a Curves adjustment layer above the inserted photo, right-click it, and choose Create Clipping Mask. Pull the curve to brighten shadows or boost contrast exactly where needed.
Add depth with layer styles. Double-click the inserted layer to open Layer Style and enable Inner Shadow. Set a subtle black shadow with low opacity, small size, and appropriate angle that matches the scene lighting. Add a slight Drop Shadow beneath elements that should cast onto the frame for extra realism.
Use the Dodge and Burn tools on a separate 50% gray layer set to Overlay blend mode. Lighten highlight areas and darken shadows to mimic natural light fall-off across the inserted photo. For advanced realism tips on matching lighting and adding shadows in composites, explore detailed video guides.
Switch to Clipping Masks for Maximum Flexibility and Speed
Prefer clipping masks when working with simple shapes or wanting easy future edits. Create or select a shape layer — rectangle, ellipse, or custom path. Place the photo layer directly above the shape layer in the Layers panel. Hold Alt (Option on Mac) and click the line between the two layers. The photo layer indents, and Photoshop clips it to the shape below.
Double-click the photo thumbnail to enter Free Transform again. Resize and reposition freely inside the shape while the mask stays perfectly intact. Edit the shape itself anytime without affecting the photo. Convert text layers to shapes and clip images inside lettering for powerful typography effects.
This method allows changing the base shape or swapping the photo in seconds. Experiment with multiple variations without starting over. Clipping masks often outperform the Frame Tool for complex needs — learn more about Frame Tool vs Clipping Masks comparison.
Use the Frame Tool for Lightning-Fast Placement in Modern Photoshop
Click the Frame Tool (shortcut K) in the latest Photoshop versions when placeholder frames are needed. Drag out a frame shape anywhere on the canvas. Drag the photo from the desktop or Libraries panel directly into the frame. Photoshop automatically places the image as a Smart Object and fits it perfectly inside.
Double-click inside the frame to enter edit mode. Resize and reposition the photo with complete freedom. Exit by clicking outside. Convert any existing shape or path into a frame for even more options. Frames stay editable and update automatically when images swap.
Explore Creative Projects That Wow Your Audience
Place vacation photos inside travel magazine layouts. Insert product shots inside transparent bottles or glass spheres for eye-catching packaging mockups. Fill bold text headlines with scenic backgrounds for social media posts that get shared instantly. Create album artwork where the artist photo appears inside vinyl record shapes.
Build e-commerce mockups that show phone cases with custom designs or t-shirts with printed logos. Design holiday cards where family photos appear inside festive ornaments. Produce real-estate listings with virtual window views that show dream landscapes. Each project starts with the same core techniques mastered here.
Follow These Pro Tips and Avoid Common Pitfalls
Always work with Smart Objects when scaling or warping the inserted image multiple times. Convert the layer before transforming so quality stays sharp.
Match perspective early. Ignoring this step makes the composite look fake no matter how good the lighting match becomes.
Feather selections by 1–3 pixels for soft edges that blend naturally into frames or screens.
Save multiple versions — one with all layers intact, one flattened for client delivery.
Check work at 100% zoom and also at actual print or screen size to catch tiny alignment issues.
Compare the composite against reference photos of similar real-world scenes to ensure lighting direction and shadow softness feel authentic.
Essential pro tips summary:
- Convert to Smart Objects early for non-destructive scaling
- Prioritize perspective matching before final tweaks
- Use feathering and reference photos for believable results
When Professional Results Are Needed Fast
Handle most projects independently after practicing these techniques. Turn to experts when deadlines loom or pixel-perfect perfection is required across hundreds of images. Professional teams deliver flawless clipping path services that isolate complex objects before compositing. They apply advanced image masking when selections become too intricate. They finish with high-end retouching that makes every composite look like a million-dollar photograph.
Explore expert help at Clipping Expert Asia when projects demand broadcast-quality results.
Start Creating Amazing Composites Today
Every tool needed to place an image inside another with confidence in Photoshop is now available. Choose Paste Into for precision, clipping masks for flexibility, or the Frame Tool for speed. Match lighting, adjust perspective, and add realistic shadows until the work looks completely natural.
Open Photoshop right now and grab two photos from the collection. Follow the steps and watch the first composite come to life. Practice on different shapes and subjects until the process feels second nature. Soon visuals will captivate audiences and elevate design work to new heights.
Keep experimenting, keep learning, and keep creating amazing results. The only limit is imagination.
Frequently Asked Questions
What is the main difference between Paste Into and a clipping mask?
Use Paste Into when starting with a selection on the base image so Photoshop creates the mask automatically. Choose clipping masks when a shape or text layer already exists and maximum editability is needed later.
Can an image be placed inside text using these methods?
Absolutely. Type the text, convert the text layer to a shape if needed, place the photo layer above it, and create a clipping mask. The letters instantly fill with the image.
How can the inserted image match the lighting and colors perfectly?
Use the Match Color command, clip Curves or Levels adjustment layers, and add subtle Inner Shadow layer styles. Dodge and burn on a separate overlay layer for fine control.
What if the selection has jagged edges after pasting?
Feather the selection edges by 1–3 pixels before pasting. Paint softly on the layer mask with a soft black or white brush to refine transitions.
Does this technique work the same in older Photoshop versions? Access the same Paste Into command in Photoshop CS6 and newer. Newer versions add the Frame Tool and improved Free Transform options, but core methods remain identical.
How can one image be placed inside multiple shapes at once?
Group all shape layers together, place the photo above the group, and create a clipping mask to the group. The photo appears inside every shape simultaneously.
Can the placement be undone or edited after committing the transformation?
Convert the layer to a Smart Object before transforming. Double-click the Smart Object thumbnail anytime to reopen and adjust the image non-destructively.
When should professionals be hired instead of doing it personally?
Hire experts when dozens or hundreds of perfect composites are needed, when working with very complex subjects, or when print-ready files are required under tight deadlines. Professional clipping path services and high-end retouching save time and guarantee flawless results.