

What Is Metering in Photography? Every Camera Metering Mode Explained (2026)
November 11, 2026
The best way to organize photos is one simple system: one master folder, sorted by year, then month and event, with consistent file names, ruthless culling, and a 3-2-1 backup (three copies, on two different types of media, one offsite). You do not need fancy software. You do not need to tag every photo. You just need to stop trying to organize everything at once — start with this year, get the system working, and let the backlog wait. If you remember one thing from this whole guide, remember this: consistency beats perfection. A so-so system you actually follow will always beat a perfect system you abandon after two weeks.
If you have photos scattered across your phone, a couple of old laptops, a memory card drawer, and maybe a shoebox of prints in the attic — you are normal. And by the end of this guide, you will have a clear plan to fix it.
- Why Your Photo Chaos Exists (And It's Not Your Fault)
- First, Pick Your Lane: Folders vs Catalog Software
- The Folder Structure That Actually Works
- File Naming: Keep It Simple, Keep It Consistent
- Culling: How to Delete Photos Without Guilt
- Keywords and Metadata: Find Any Photo in 10 Seconds
- Backup: The 3-2-1 Rule (Explained Like You're Five)
- Organizing Phone Photos: The Biggest Pain Point
- Organizing Printed and Old Photos
- Five Mistakes That Make Organization Worse
- The 15-Minute Weekly Habit That Keeps It Organized Forever
- Frequently Asked Questions
- One Last Thought
Why Your Photo Chaos Exists (And It’s Not Your Fault)
Here is the honest truth: nobody taught us how to do this. We started with rolls of film and 24 exposures per roll, and suddenly we had phones that take 40 photos before breakfast. The volume exploded, but our organizing habits never caught up. Add in multiple devices — phone, camera, tablet, old laptop, spouse’s phone — and you have a perfect storm of duplicates, screenshots, blurry shots, and actual treasures all mixed together.
The mistake almost everyone makes is trying to fix the whole archive at once. You sit down, see 40,000 photos, feel that knot in your stomach, and close the window. Do not do that. We are going to use what professional organizers call the “forward first” method: get your system working for photos going forward, then chip away at the backlog 15 minutes at a time. You will have a functional system by the end of this weekend. The backlog can wait.
First, Pick Your Lane: Folders vs Catalog Software
There are two ways to organize digital photos, and picking the wrong one is why most people quit. Let’s keep it simple.
Folder-based organization means you create folders on your computer (or external drive) and drag photos into them. No special software needed. It works on any computer, it is transparent, and you can open your photos in any program. The downside: searching by date or person is manual.
Catalog-based organization means you use software like Lightroom, Apple Photos, or Google Photos that imports your photos into a library and lets you search by face, date, keyword, or even what is in the image (“beach,” “dog,” “birthday”). The software does the heavy lifting. The downside: you are locked into that ecosystem, and migrating later is a headache.
| Folder System | Catalog Software | |
|---|---|---|
| Cost | Free | $0–$10/month |
| Learning curve | Tiny | Moderate |
| Search by person/topic | Manual | Automatic (AI) |
| Works on any computer | Yes | Only where installed |
| Best for | Casual shooters, small archives | Photographers, 10k+ photos |
If you take photos mostly on your phone and just want to find them later, Google Photos or Apple Photos with their built-in AI search is honestly all you need. If you shoot with a camera and edit in Lightroom, use Lightroom’s catalog. If you want maximum control and zero subscription fees, go folders. Pick one. Do not mix systems — that is how duplicates happen.
The Folder Structure That Actually Works
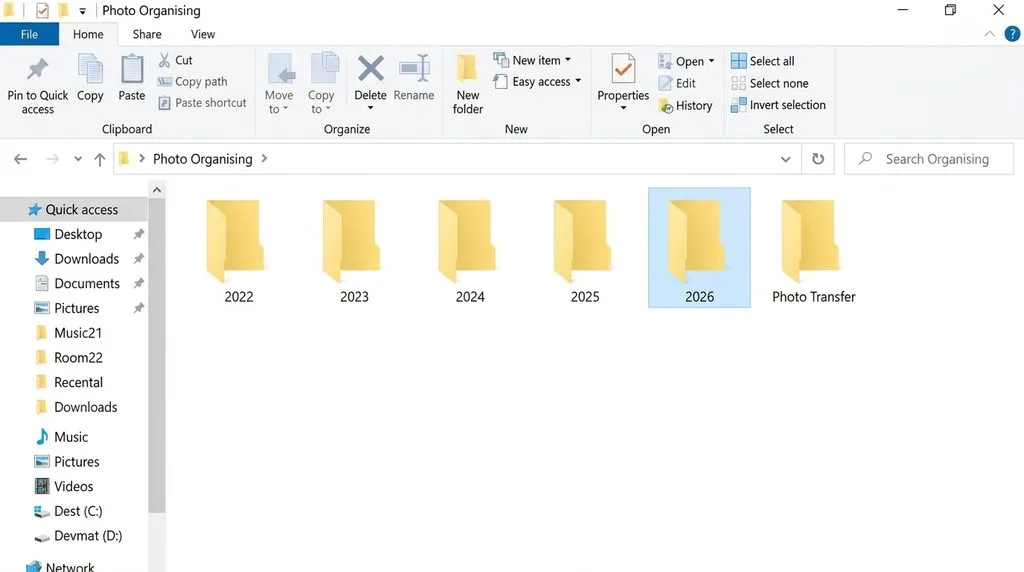
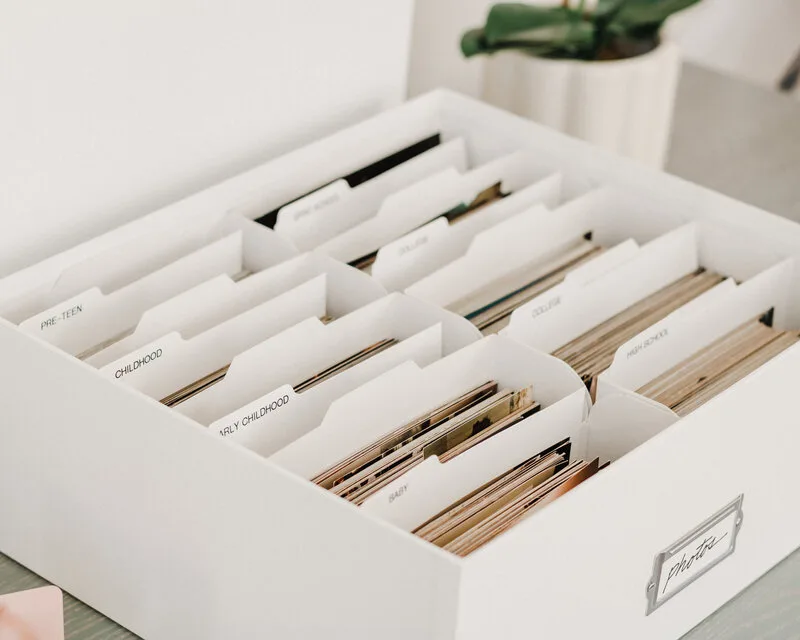
If you go the folder route, here is the structure professional photo organizers recommend. It is boring on purpose — boring means you will actually use it.
Photos (master folder)
├── 2026
│   ├── 2026-01 New Year's Day
│   ├── 2026-03 Spring Break - Beach
│   ├── 2026-05 Emma's Birthday
│   └── 2026-00 Misc (everyday shots that don't fit an event)
├── 2025
│   ├── 2025-06 Family Reunion
│   └── ...
└── _Unsorted (temporary holding bin)
Three rules, and that is it:
- One master folder called “Photos” (or “Photo Library”) on your main drive. Everything lives inside it. No “Photos from vacation” folders on your desktop. No random downloads.
- Year folders at the top level. Sort by year first — it is the one thing you almost always remember about a photo.
- Event folders inside each year, named with the date first in YYYY-MM format so they sort chronologically automatically. Add a short description. “2026-07 Wedding – Sarah and Mike” beats “wedding pics final final 2.”
Keep a _Unsorted folder (the underscore puts it at the top) as a temporary holding bin. Dump new photos there, sort them within a week, and never let it become permanent.
File Naming: Keep It Simple, Keep It Consistent
You do not need to rename every single file. Your camera already names them IMG_1234.JPG, and that is fine for most people. But if you want to go one step further — and it genuinely helps when searching — rename in batches with a consistent pattern. The most useful pattern is:
YYYY-MM-DD_Event_Sequence — like 2026-07-14_Sarah-Wedding_001.jpg
You can do this in two seconds with free tools (Windows PowerToys PowerRename, or the batch rename tool built into your file manager). The key is consistency — once you pick a pattern, use it everywhere. Mixed naming conventions are worse than no naming convention at all.
Culling: How to Delete Photos Without Guilt
Culling — deleting the bad ones — is the secret to an organized library. Most people keep every photo because “you never know.” The result: 80% of your library is blurry duplicates, screenshots, and accidental shots that make finding the good ones feel like digging for a needle in a haystack.
Here is the culling method that actually works. For every batch of new photos:
- Delete the obvious junk first. Blurry, eyes closed, finger over the lens, accidental screenshots. No hesitation. These are not memories — they are clutter.
- Pick the best one from each burst. You took 12 shots of your kid blowing out the candles. Keep the 2 best. Delete the other 10. They are not 12 separate memories — they are one memory, and the best shot captures it.
- Ask one question: “Will I realistically look at this again in 5 years?” If the answer is no, let it go.
- Use the 30-day rule for anything you are unsure about. Toss it in a “Maybe” folder. If you have not opened it in 30 days, delete it. You will not miss it.
Aim to keep roughly 10–20% of what you shoot. That sounds brutal until you try it — then you realize how much better your library feels when every photo in it is one you actually love.
Keywords and Metadata: Find Any Photo in 10 Seconds
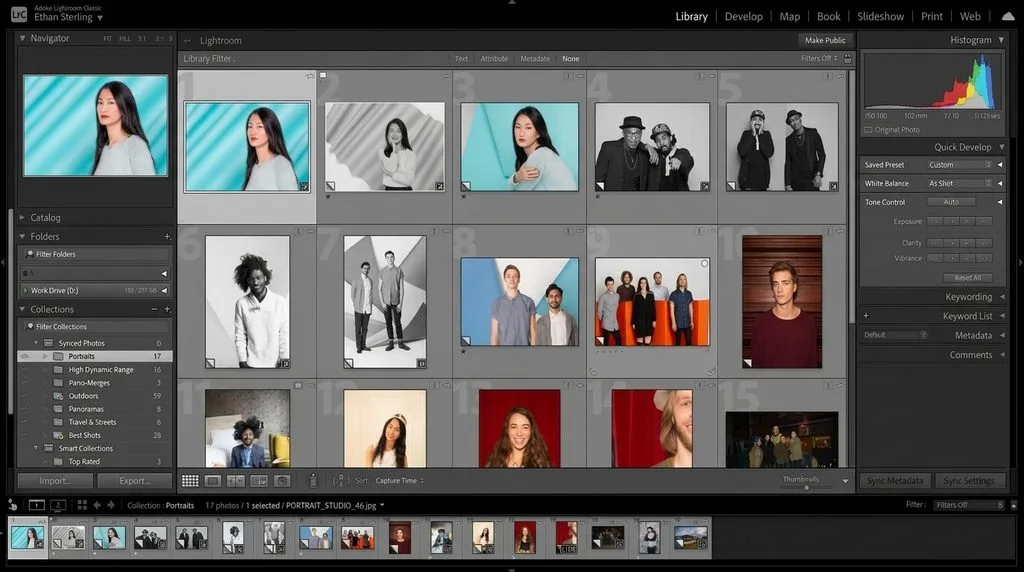
This is the step most people skip, and it is the one that makes the biggest difference. You do not need to keyword every photo. You need to keyword the important ones — the ones you will actually search for later.
Here is the realistic approach: add 3–5 keywords to each event folder or album. “Beach,” “Emma,” “birthday,” “summer 2026.” That is it. When you search later, you combine keywords with dates, and you can find any photo in seconds. If you use Google Photos or Apple Photos, the AI already does most of this automatically — it recognizes faces, places, and even objects — which is why those apps are such a good default for most people.
For folder-based systems, you can add keywords directly to file names or use the built-in tagging in Windows or macOS. It takes 30 seconds per event and saves you hours of scrolling later.
Backup: The 3-2-1 Rule (Explained Like You’re Five)
All the organizing in the world means nothing if a hard drive dies and you lose everything. This happens more often than you think — drives fail, phones get dropped in pools, laptops get stolen. The 3-2-1 backup rule is the industry standard, and it is simple:
- 3 copies of your photos
- 2 different types of media (e.g., external hard drive + cloud)
- 1 copy offsite (cloud storage counts, or a drive at a family member’s house)
In practice, for most people that looks like:
- Photos on your computer or phone (copy 1)
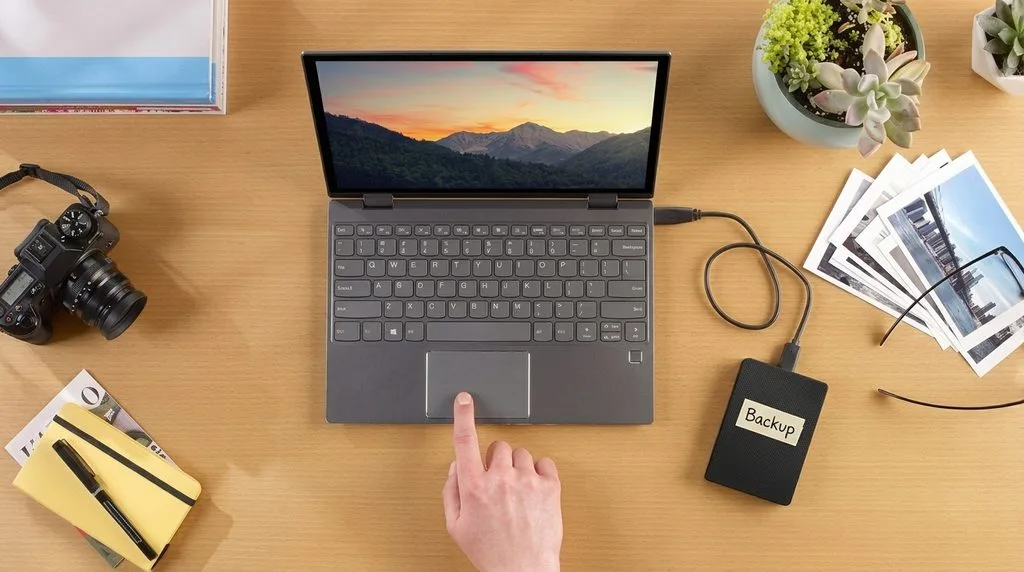
- Photos on an external hard drive (copy 2)
- Photos in cloud storage like Google Photos, iCloud, or Backblaze (copy 3, offsite)
Set it up once, set it to automatic, and forget about it. An external drive is $50–$100. Cloud storage is a few dollars a month. That is cheap insurance for irreplaceable memories. And here is a pro tip: external drives only last 3–5 years. Replace yours before it fails — do not wait for the click of death.
Organizing Phone Photos: The Biggest Pain Point
Your phone is where 90% of the chaos starts. Here is the system that actually works for phone photos.
Do a weekly 5-minute cull. While you are waiting in line or on the couch, open your camera roll and delete the junk. Screenshots you no longer need, duplicates, blurry shots. Five minutes a week prevents the 40,000-photo avalanche.
Use albums, not folders. Both iPhone and Android let you create albums. Create albums for major events and for people. Do not try to put every photo in an album — most photos just live in the main library, and albums are for the stuff you want to find fast.
Turn on auto-upload to the cloud. iCloud or Google Photos will back up everything automatically, and then you can safely delete photos from your phone to free up space — they are safe in the cloud. This one setting solves half the problem.
Use the built-in search. Both Apple and Google now let you search by what is in the photo — “dog,” “beach,” “birthday cake” — and by face. You probably have this superpower and do not even use it.
Organizing Printed and Old Photos
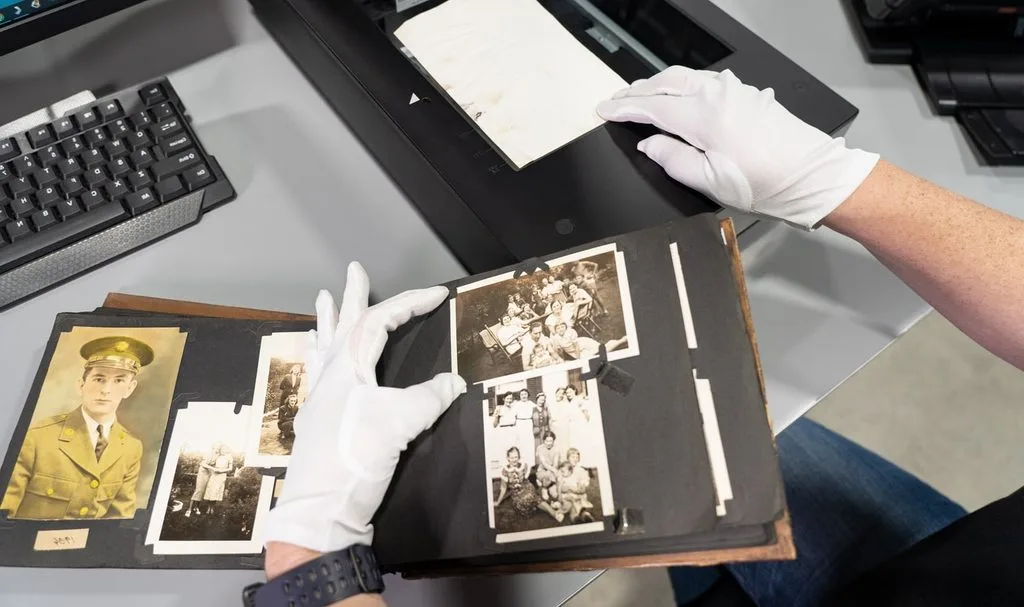
If you have boxes of prints, negatives, and slides in the attic, this part is for you. The good news: the process is the same as digital, just slower. Start with one box, not all of them.
- Sort into broad piles first — decade by decade, or by family member. Do not try to date every photo on the first pass.
- Cull ruthlessly. Duplicate prints, blurry shots, photos of random scenery with no people or story — let them go. You are preserving the story, not every piece of paper.
- Store what you keep in acid-free, photo-safe boxes or albums. Regular cardboard and cheap plastic can damage photos over time. Look for “archival” or “acid-free” on the label.
- Scan the keepers. A flatbed scanner works, but for speed a feed-through photo scanner (like the Epson FastFoto line) can scan thousands of prints in an afternoon. You can also mail your photos to a scanning service — they do the work and send you a USB drive.
- Once scanned, organize the digital files using the same folder system above, and add them to your backup.
Old, faded, or damaged scans can be brought back to life with a little photo restoration, and black-and-white family shots can even be colorized to feel vivid and present again. Those are finishing touches — get the scanning and organizing done first.
Five Mistakes That Make Organization Worse
These are the traps people fall into that turn a weekend project into a years-long nightmare. Avoid them.
- Organizing by person first, date second. You will never agree on which person a group photo belongs to. Date first, always — you can always search by person later.
- Keeping everything. The more you keep, the less you can find. Culling is kindness to your future self.
- Using more than one system. Folders + Lightroom + Google Photos all at once = duplicates everywhere. Pick one lane.
- Waiting for the perfect system. There is no perfect system. There is only the one you will actually maintain. Good enough, started today, beats perfect, started never.
- Skipping backup. An organized library on one single drive is one coffee-spill away from oblivion. Back up before you do anything else.
The 15-Minute Weekly Habit That Keeps It Organized Forever
Here is the secret nobody tells you: organizing is not a one-time project. It is a habit. Once you have your system set up, spend 15 minutes every Sunday evening doing three things: dump new photos into _Unsorted, sort them into the right folders, and delete the junk. That is it. Fifteen minutes. If you do this consistently, you will never have a photo disaster again. The backlog — all those years of unsorted photos — you chip away at one folder per week. In a year, it will be done, and you will barely remember the chaos.
If you are a photographer or run a business where editing is part of your workflow, you may reach a point where the post-production load is better handled by someone else. When that day comes, outsourcing photo editing frees up the hours you currently spend in front of a screen so you can be behind the camera instead. A good photo editing workflow — including the organization step — is the backbone of any photography business, and the same folder and naming principles apply at scale.
Frequently Asked Questions
What is the best way to organize thousands of digital photos?
Start with one master folder, sorted by year, then by month and event. Cull aggressively to keep only the best 10–20%. Add a few keywords to each event. And back up with the 3-2-1 rule. Do not try to fix the whole archive at once — start with this year and work backward.
Should I organize photos by date or by event?
By date first — year folders at the top level — and then by event inside each year. Date is the one detail you almost always remember about a photo. Event folders inside years give you the best of both worlds. Avoid organizing by person first, because group photos never fit cleanly into one person’s folder.
How do I organize photos without duplicates?
Use one system only — folders, or a catalog app like Lightroom or Google Photos, not both. When you import new photos, import into one place and one place only. Use a duplicate finder app (there are free ones for both Mac and Windows) to clean up existing duplicates, then set your import process to prevent new ones.
Is it better to store photos on an external drive or in the cloud?
Both — that is the 3-2-1 rule. An external drive gives you fast, local access and no monthly fee. Cloud storage gives you an offsite backup that survives fire, flood, and theft. Use them together. For most people, automatic cloud backup plus one external drive is the sweet spot.
How do I organize 20 years of photos?
You do not — not all at once. Use the forward-first method: set up your system and get current photos organized first. Then tackle the backlog one year, one folder, at a time — 15 minutes a week. It will take months, but it will get done, and you will have a working system the whole time. Trying to do it all in one weekend is how people quit.
Should I delete blurry or duplicate photos?
Yes. Ruthlessly. The more photos you keep, the harder it is to find the good ones. Blurry shots, closed eyes, duplicates from burst mode — delete them. They are not memories; they are clutter. Keep the best one or two from each moment and let the rest go.
How do I organize old printed photos?
Sort into broad piles by decade or family member first, cull duplicates and poor shots, store keepers in acid-free archival boxes, then scan them. A feed-through scanner can handle thousands of prints in an afternoon, or you can use a mail-in scanning service. Once scanned, file the digital versions into the same folder system and back them up.
What is the best free photo organization software?
For most people, Google Photos or Apple Photos (both free up to a storage limit) is the best free option because of AI search and automatic backup. For folder-based purists, your computer’s built-in file manager is free and works fine. For serious shooters, the free version of Digikam or Adobe’s Lightroom (paid) offer catalog power.
One Last Thought
Your photos are not files — they are the only record you have of people and moments that will never come again. Organizing them is not about being neat. It is about making sure that when you want to show your kid their first birthday, or your mom her wedding day, or yourself that trip you almost forgot — you can find it in ten seconds instead of three hours. Set up the system this weekend. Do the 15-minute habit. Back it up. And then go take more photos.