
Best Free Photoshop Alternatives in 2026
February 19, 2026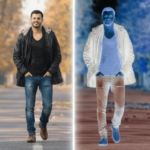
Invert Colors in Photoshop: Easy Tutorial
February 24, 2026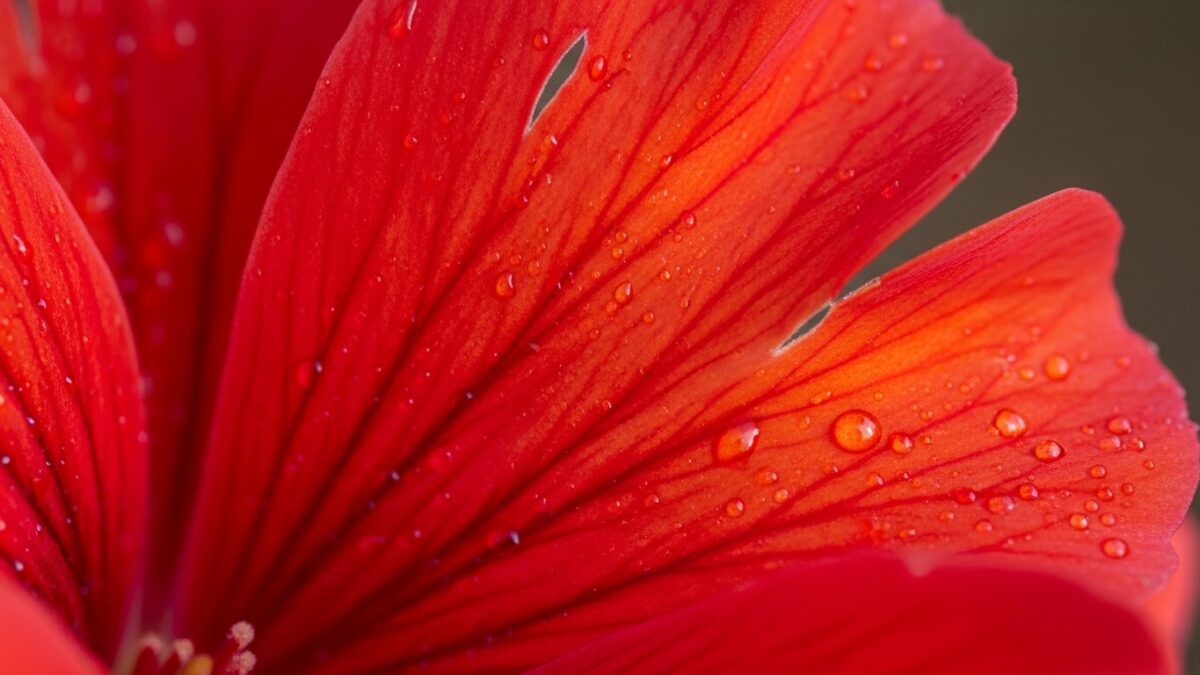
Photographers and designers often face the challenge of adjusting colors in images to achieve the perfect look. Whether you edit product photos for an online store or enhance personal portraits, precise color changes can transform your work. Adobe Photoshop offers powerful features for this task, and one standout option helps you swap hues without disturbing the underlying details. This tool allows you to target specific shades while preserving textures and shapes, making it ideal for subtle enhancements or bold transformations. Professionals rely on it to maintain image quality during edits, ensuring results that appear natural and seamless.
As you dive deeper into photo manipulation, understanding how to wield this feature effectively opens up new creative possibilities. It streamlines workflows for tasks like matching brand colors or correcting lighting inconsistencies. Beginners might find it intimidating at first, but with practice, it becomes a go-to for accurate adjustments. In this guide, you explore its capabilities step by step, from basic setup to advanced applications, equipping you with skills to elevate your editing game.
- Understanding the Basics of the Color Replacement Tool
- Setting Up Your Workspace for Optimal Editing
- Exploring the Key Options and Controls
- Step-by-Step Guide to Using the Tool
- Advanced Techniques for Precision
- Tips and Tricks to Enhance Your Workflow
- Common Mistakes and How to Avoid Them
- Real-World Applications in Photo Editing
- Integrating with Other Photoshop Features
- Troubleshooting Common Issues
- Conclusion
- Frequently Asked Questions
Understanding the Basics of the Color Replacement Tool
Adobe Photoshop includes a variety of brushes and tools designed for targeted edits, and this particular one focuses on color swaps. It operates by sampling pixels in your image and replacing them with a chosen hue, all while keeping the original brightness and saturation levels intact where possible. Unlike simple fill commands that blanket an area uniformly, this tool intelligently detects similar colors, allowing for more controlled modifications.
You access it nestled within the brush family in the toolbar. Right-click on the standard Brush Tool icon, and a menu pops up revealing several specialized variants. Select the one dedicated to color replacement, and your cursor transforms into a circle with a central crosshair. This design helps you pinpoint the exact shade you want to change while the outer ring defines the brush’s reach.
Before you start painting, set your foreground color. Click the swatch at the bottom of the toolbar to open the Color Picker dialog. Here, you choose the new shade that will overwrite the old one. For instance, if you work on a landscape photo and need to shift a sky from dull gray to vivid blue, pick a suitable blue tone first. This preparation ensures smooth application right from the start.
The tool’s strength lies in its ability to blend the new color naturally. It analyzes the sampled area and applies changes only to matching pixels, preventing spillover into unrelated parts of the image. This precision makes it suitable for detailed work, such as altering clothing colors in fashion shots or adjusting product hues for marketing materials.
Setting Up Your Workspace for Optimal Editing
Preparation plays a key role in successful photo editing. Open your image in Photoshop by navigating to File > Open and selecting your file. Ensure you work on a duplicate layer to preserve the original right-click the background layer in the Layers panel and choose Duplicate Layer. This safety net lets you experiment without fear of permanent mistakes.
Adjust your brush settings next. Use the bracket keys on your keyboard: [ to decrease size and ] to increase it. For hardness, hold Shift while pressing those keys. A softer brush often works best for gradual transitions, especially around edges where colors blend subtly.
Explore the Options Bar at the top of the screen. It houses controls that fine-tune how the tool behaves. Start with the default settings, but experiment as you go. If you edit high-resolution images, zoom in using Ctrl + (Windows) or Cmd + (Mac) for better accuracy. Good lighting in your workspace also helps you discern subtle color differences on screen.
For those seeking professional assistance with complex color adjustments, consider exploring specialized services that handle intricate edits efficiently. Professional color change services can save time on large projects, ensuring pixel-perfect results.
Exploring the Key Options and Controls
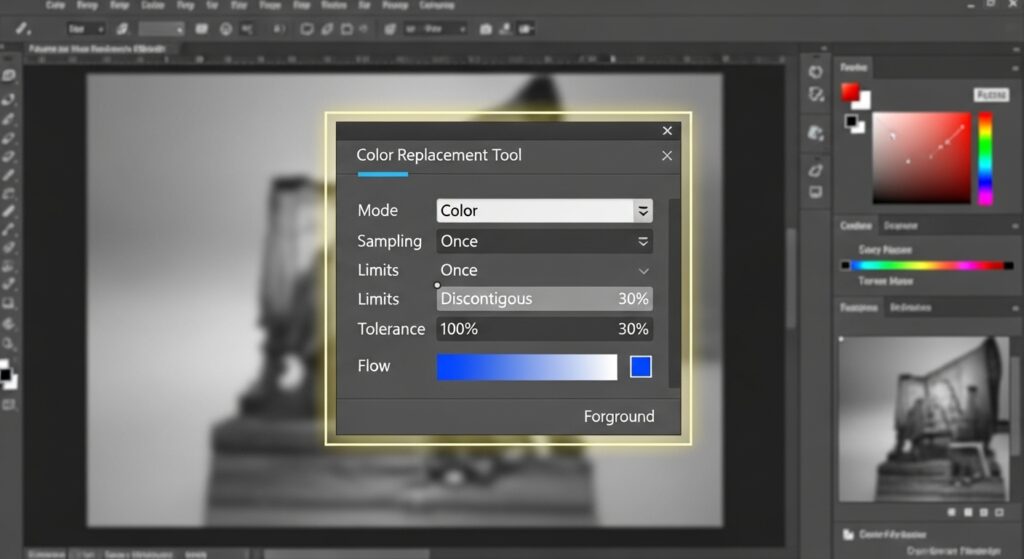
The Options Bar provides several modes that dictate how the new color interacts with the existing one. Choose from Hue, which alters only the color while keeping saturation and brightness; Saturation, which modifies intensity; Color, the default that combines hue and saturation changes; or Luminosity, which focuses on brightness matching.
Sampling methods offer further customization. Continuous mode resamples as you drag the brush, adapting to variations in the area. Once mode locks onto the initial sample, perfect for uniform regions. Background Swatch targets the color set as your background, useful for specific replacements.
Limits define the scope: Contiguous affects only adjacent pixels, while Discontiguous changes any matching ones within the brush area, regardless of connection. Find Edges sharpens boundary detection, helping maintain clean lines in detailed images.
Tolerance slider determines sensitivity lower values target exact matches, higher ones include broader ranges. Start at 30% and adjust based on your image’s complexity. Anti-alias checkbox smooths edges for a polished finish.
These settings empower you to tackle diverse editing scenarios. For example, in product photography, use Color mode to swap a shirt’s shade without losing fabric textures.
Step-by-Step Guide to Using the Tool
Begin by selecting your tool and setting the foreground color. Position the crosshair over the area you want to sample and replace. Click and drag slowly, watching as the new color applies.
If the change seems patchy, increase tolerance slightly. For edges, switch to Find Edges limit to avoid bleeding into adjacent areas.
Undo any errors with Ctrl+Z (Windows) or Cmd+Z (Mac). For multiple steps back, use the History panel.
Practice on a simple image first, like a single-colored object against a neutral background. This builds confidence before moving to complex compositions.
Incorporate layers for non-destructive editing. Mask areas you don’t want to change by adding a layer mask and painting black over protected regions.
For more insights into layer management, check Adobe’s official documentation on working with layers in Photoshop.
Advanced Techniques for Precision
Once comfortable with basics, try sampling colors from within the image. Hold Alt (Windows) or Option (Mac) to temporarily switch to the Eyedropper Tool, then click to set a new foreground color.
Combine modes for creative effects. Use Saturation to desaturate backgrounds, making subjects pop. Or apply Luminosity for brightness adjustments without shifting hues dramatically.
Handle challenging areas like gradients by using smaller brushes and multiple passes. Adjust opacity in the Options Bar for subtler applications.
Integrate with other tools: Select regions first with the Lasso or Magic Wand, then apply color replacement within the selection for contained edits.
For intricate designs, explore blending with Adjustment Layers. Add a Hue/Saturation layer and clip it to your edited layer for fine-tuning.
To learn more about adjustment layers, visit this helpful resource on Photoshop adjustment techniques.
Tips and Tricks to Enhance Your Workflow
- Always work in RGB color mode for vibrant results; switch via Image > Mode > RGB if needed.
- Use the eyedropper frequently to match colors from reference images.
- Save presets for brush settings if you handle similar edits often.
- Zoom to 100% or more for pixel-level accuracy.
- Test changes on a small area first to gauge effects.
These strategies speed up your process and improve outcomes. Professionals often chain this tool with others for comprehensive edits.
Common Mistakes and How to Avoid Them
Many users overlook tolerance adjustments, leading to incomplete replacements. Test different levels to find the sweet spot.
Ignoring anti-alias can result in jagged edges; keep it enabled unless you need sharp boundaries.
Applying to areas with high contrast in brightness often yields unnatural looks. In such cases, opt for other methods like Color Range selections.
Forgetting to duplicate layers risks overwriting originals always create backups.
Rushing without zooming causes oversights; take time to inspect details.
By sidestepping these pitfalls, you achieve cleaner, more professional edits.
Real-World Applications in Photo Editing
In e-commerce, change product colors to show variations without reshooting. Fashion editors use it to match outfits to seasonal trends.
For portraits, subtly shift skin tones or hair colors for enhancement.
In graphic design, alter elements in composites to harmonize palettes.
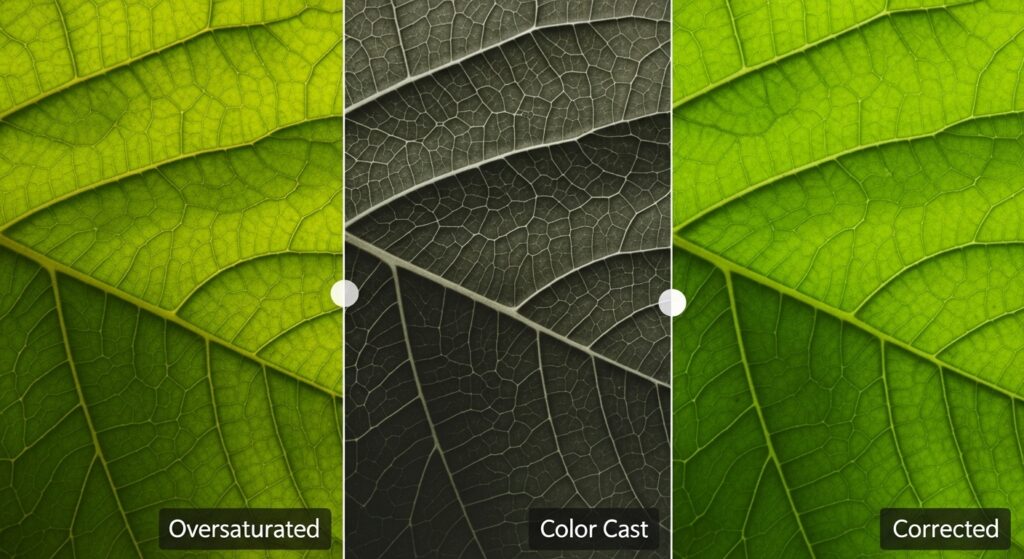
Environmental photographers correct color casts from lighting conditions.
These uses demonstrate its versatility across industries.
Integrating with Other Photoshop Features
Pair it with the Healing Brush for seamless repairs after color changes.
Use Smart Objects to keep edits non-destructive.
Apply filters post-replacement for added effects, like sharpening.
Combine with masks for selective application.
This integration expands its utility in complex projects.
Troubleshooting Common Issues
If colors don’t replace evenly, check your sampling mode switch to Once for consistency.
For fringing, boost tolerance or use Find Edges.
Tool not responding? Ensure you’re on the correct layer and not in a locked state.
Updates in newer Photoshop versions might alter behaviors; stay current via Help > Updates.
These fixes keep your editing smooth.
Conclusion
Mastering this tool in Adobe Photoshop equips you for precise photo editing tasks. From basic swaps to advanced integrations, it offers flexibility for creative expression. Practice regularly to refine your skills, and soon you’ll handle any color challenge with ease. Whether for personal projects or professional demands, this feature proves invaluable in your toolkit.
Frequently Asked Questions
- What makes the Color Replacement Tool different from the Brush Tool?
The Color Replacement Tool targets specific colors for change while preserving textures, unlike the Brush Tool which paints over everything uniformly. - Can I use this tool on black and white images?
Yes, but it works best by adding color through modes like Color or Hue, converting grayscale to tinted versions. - How do I reset the tool to default settings?
Right-click the tool icon in the Options Bar and select Reset Tool, or reset all tools via the flyout menu. - Is there a keyboard shortcut for quick access?
Press B to select the Brush Tool group, then Shift+B to cycle through until you reach the Color Replacement Tool. - What file formats support these edits best?
PSD files preserve layers and edits, but you can export to JPEG or PNG for final use without losing quality. - How does tolerance affect performance on large images?
Higher tolerance processes more pixels, potentially slowing down on high-res files; work in sections for efficiency. - Can I automate color replacements for batch editing?
Record an action in the Actions panel to apply similar changes across multiple images, saving time on repetitive tasks.